February 2026 Highlights: Kling 3.0 and o3 bring true directorial control to Pixio · Native multi-shot generation up to 15 seconds · Elements 3.0 locks character consistency · Director-level camera control · Native audio & lip-sync
🎬 Kling 3.0 and o3: The AI Video Model with the Most Control
Game-Changing Release: Kling 3.0 and o3 are now live on Pixio, bringing unprecedented directorial control, multi-shot generation, and character consistency to AI video creation
We're thrilled to announce that Kling 3.0 and Kling o3 are now available on Pixio. These aren't just incremental updates—they represent a fundamental shift in how creators approach AI video generation. For the first time, you have true directorial control over multi-shot narratives, character consistency, and cinematic motion in a single generation.
🎯 What Makes Kling 3.0 and o3 Different?
Native Multi-Shot Generation (Up to 15 Seconds)
Unlike older AI video models that generate one clip at a time, Kling 3.0 lets you script an entire narrative arc in a single generation. You can create up to 6 distinct shots in one pass, with each shot lasting 3-15 seconds total. The model automatically handles transitions, maintains visual continuity, and preserves character identity across all shots.
Why this matters: No more stitching clips together in post. No more character drift between generations. One prompt structure = one coherent video.
Elements 3.0: Lock Character and Object Consistency
Upload up to 4 reference images—your character's face, outfit, props, or environments—and Kling will lock those visual traits across every shot. Whether your character moves, the camera orbits, or the lighting changes, they stay visually consistent.
Real-world example: You can upload a photo of yourself, a race suit, a helmet, and a car. Kling will keep all four elements stable across a 15-second multi-shot sequence, even as the camera moves from a close-up to a wide aerial shot.
Director-Level Camera Control
Kling 3.0 understands cinematic language. Describe your shots like a director would:
- "Slow dolly push-in on a medium close-up"
- "Hard cut to a low-angle wide shot"
- "FPV drone chasing the subject from above and behind"
- "Symmetrical locked-off camera, deep focus"
The model responds with physics-driven motion, proper depth of field, and natural transitions between shots.
Native Audio & Lip-Sync
Audio is generated alongside video in a single pass. Dialogue, ambient sound, and music are synchronized with the visuals automatically. No more post-production audio syncing.
📖 How to Prompt Multi-Shot Videos: A Step-by-Step Guide
Step 1: Structure Your Narrative
Break your story into 2-6 distinct shots. Each shot should have:
- A clear camera movement (static, push-in, tracking, orbit, etc.)
- A specific action (what the subject is doing)
- Duration (3-15 seconds per shot, total max 15 seconds)
Example structure:
- Shot 1 (4s): Close-up of hands zipping up a suit
- Shot 2 (3s): Medium shot of putting on a helmet
- Shot 3 (4s): Wide shot of climbing into a car
- Shot 4 (4s): Aerial drone shot of the car racing away
Step 2: Upload Your Elements
Use Pixio's Elements feature to upload up to 4 reference images:
Element 1: Character Reference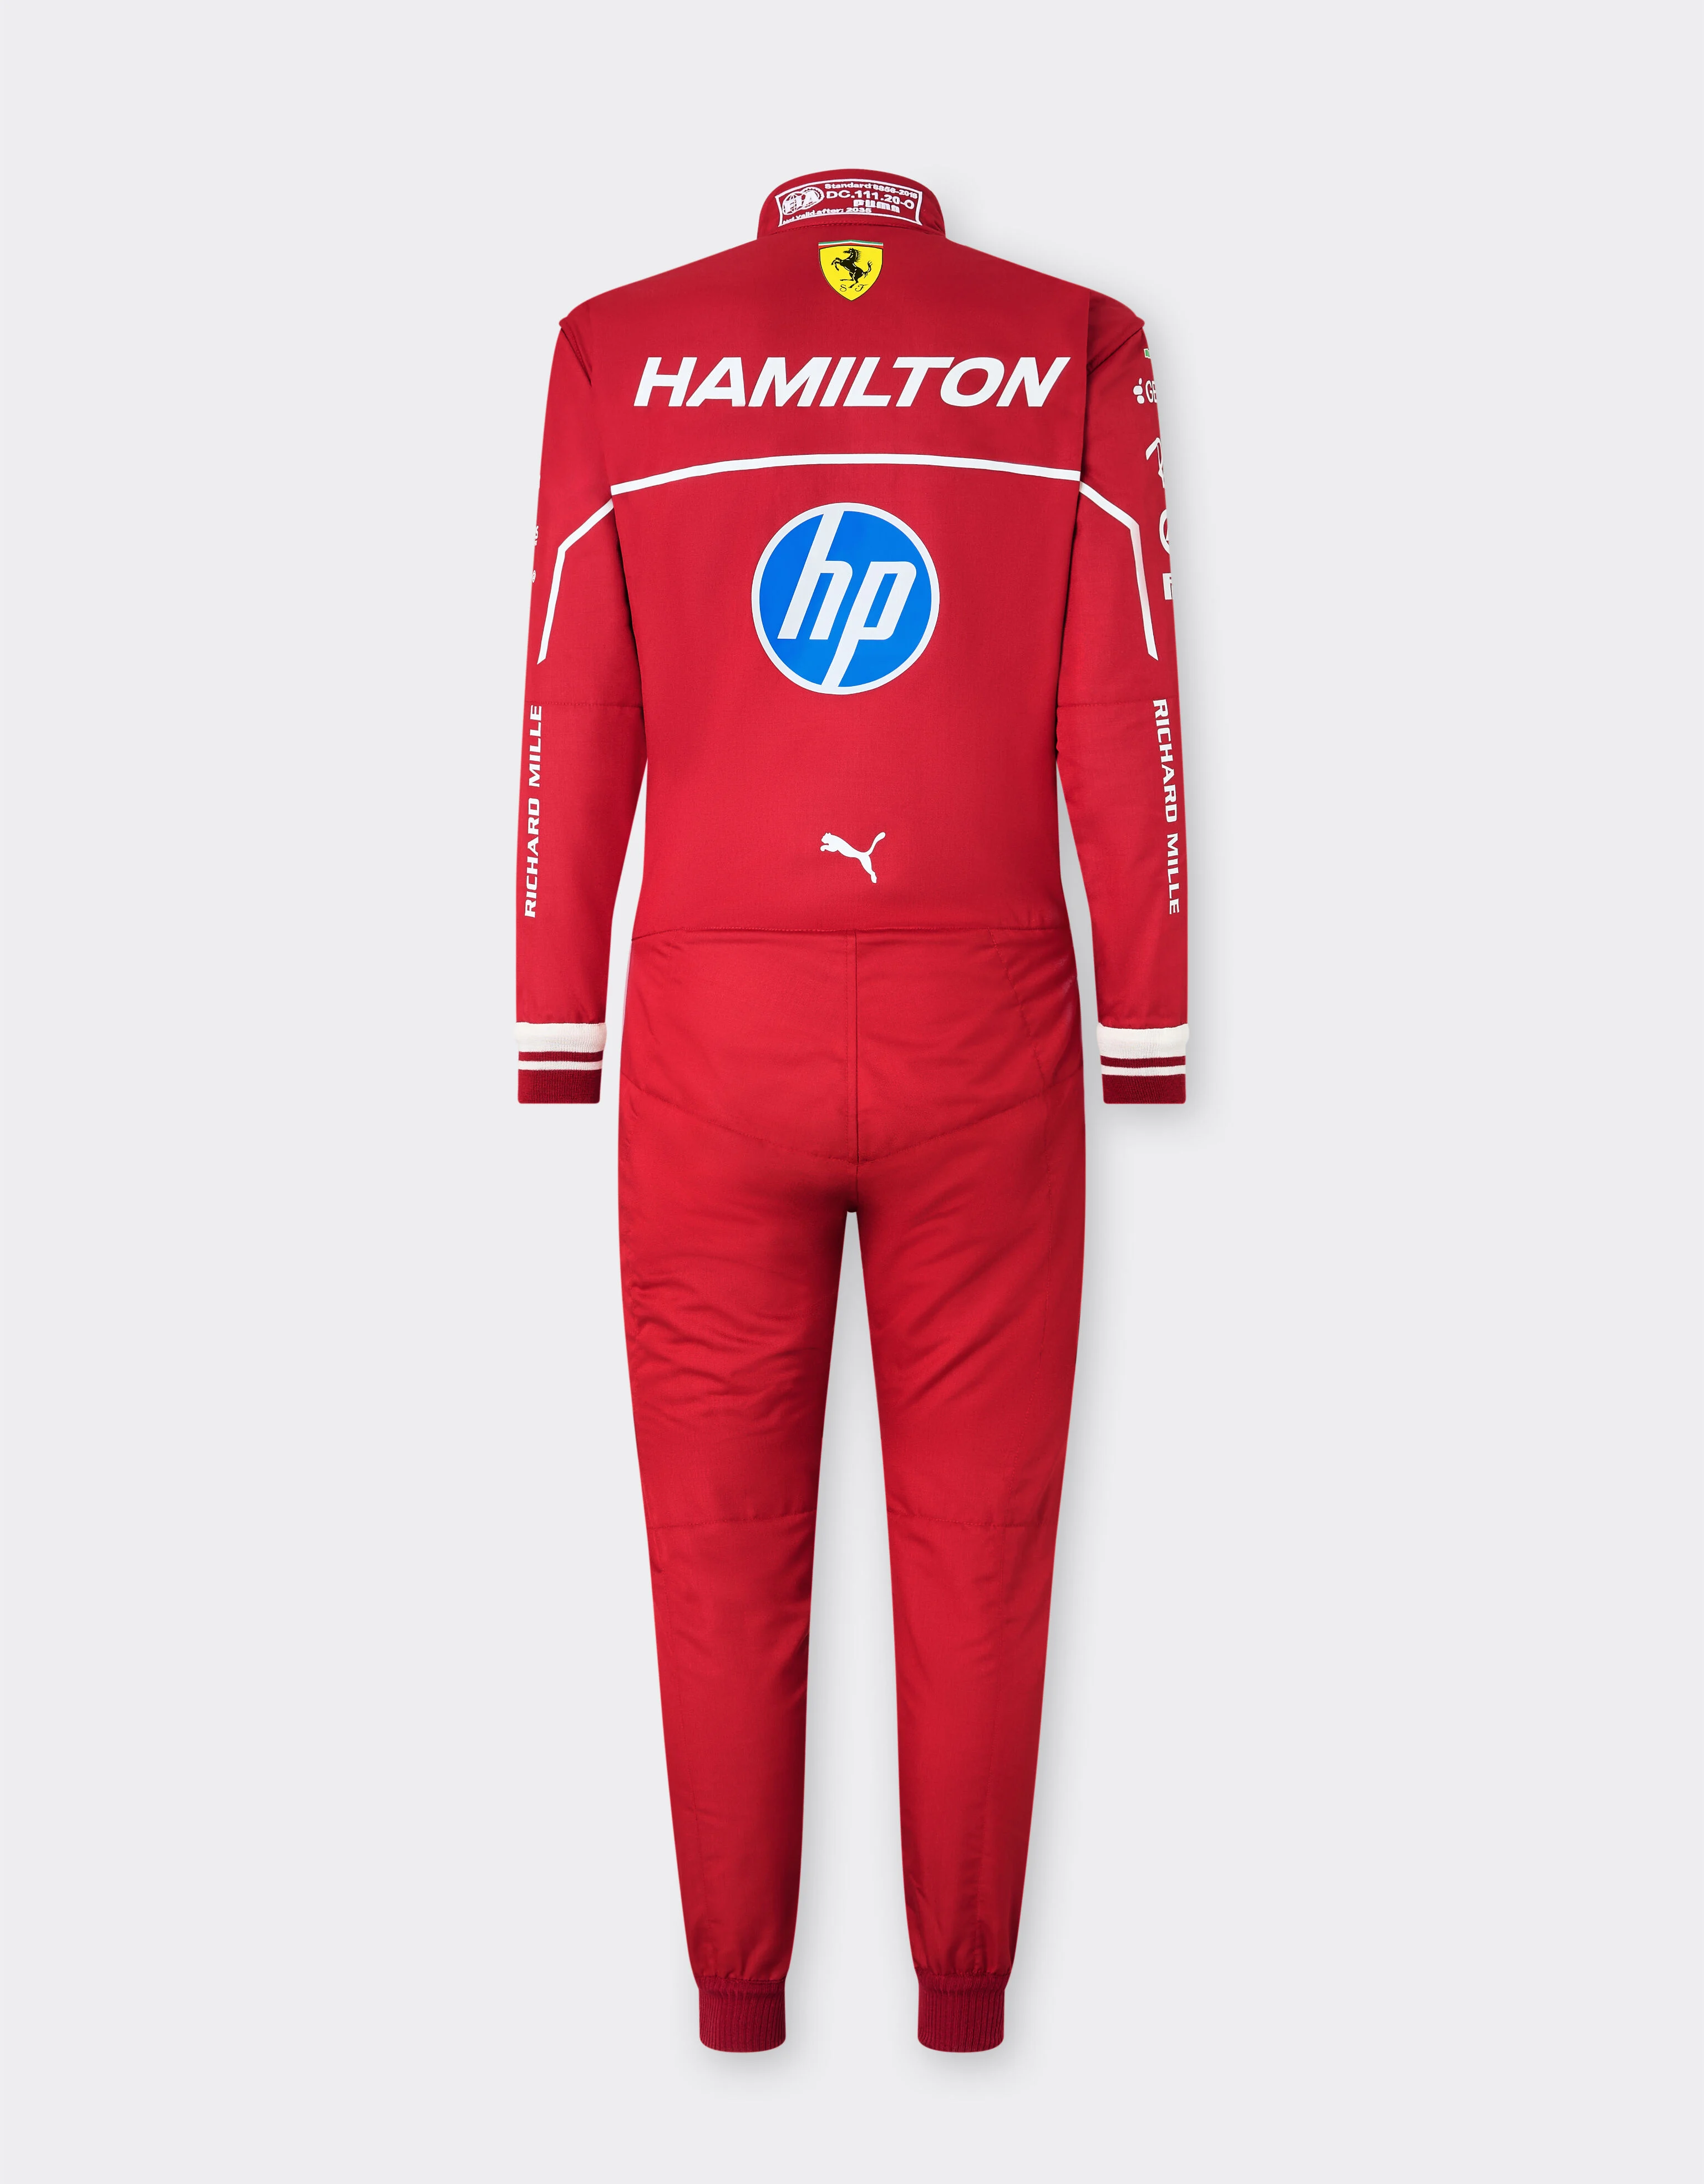
Element 1: Additional Reference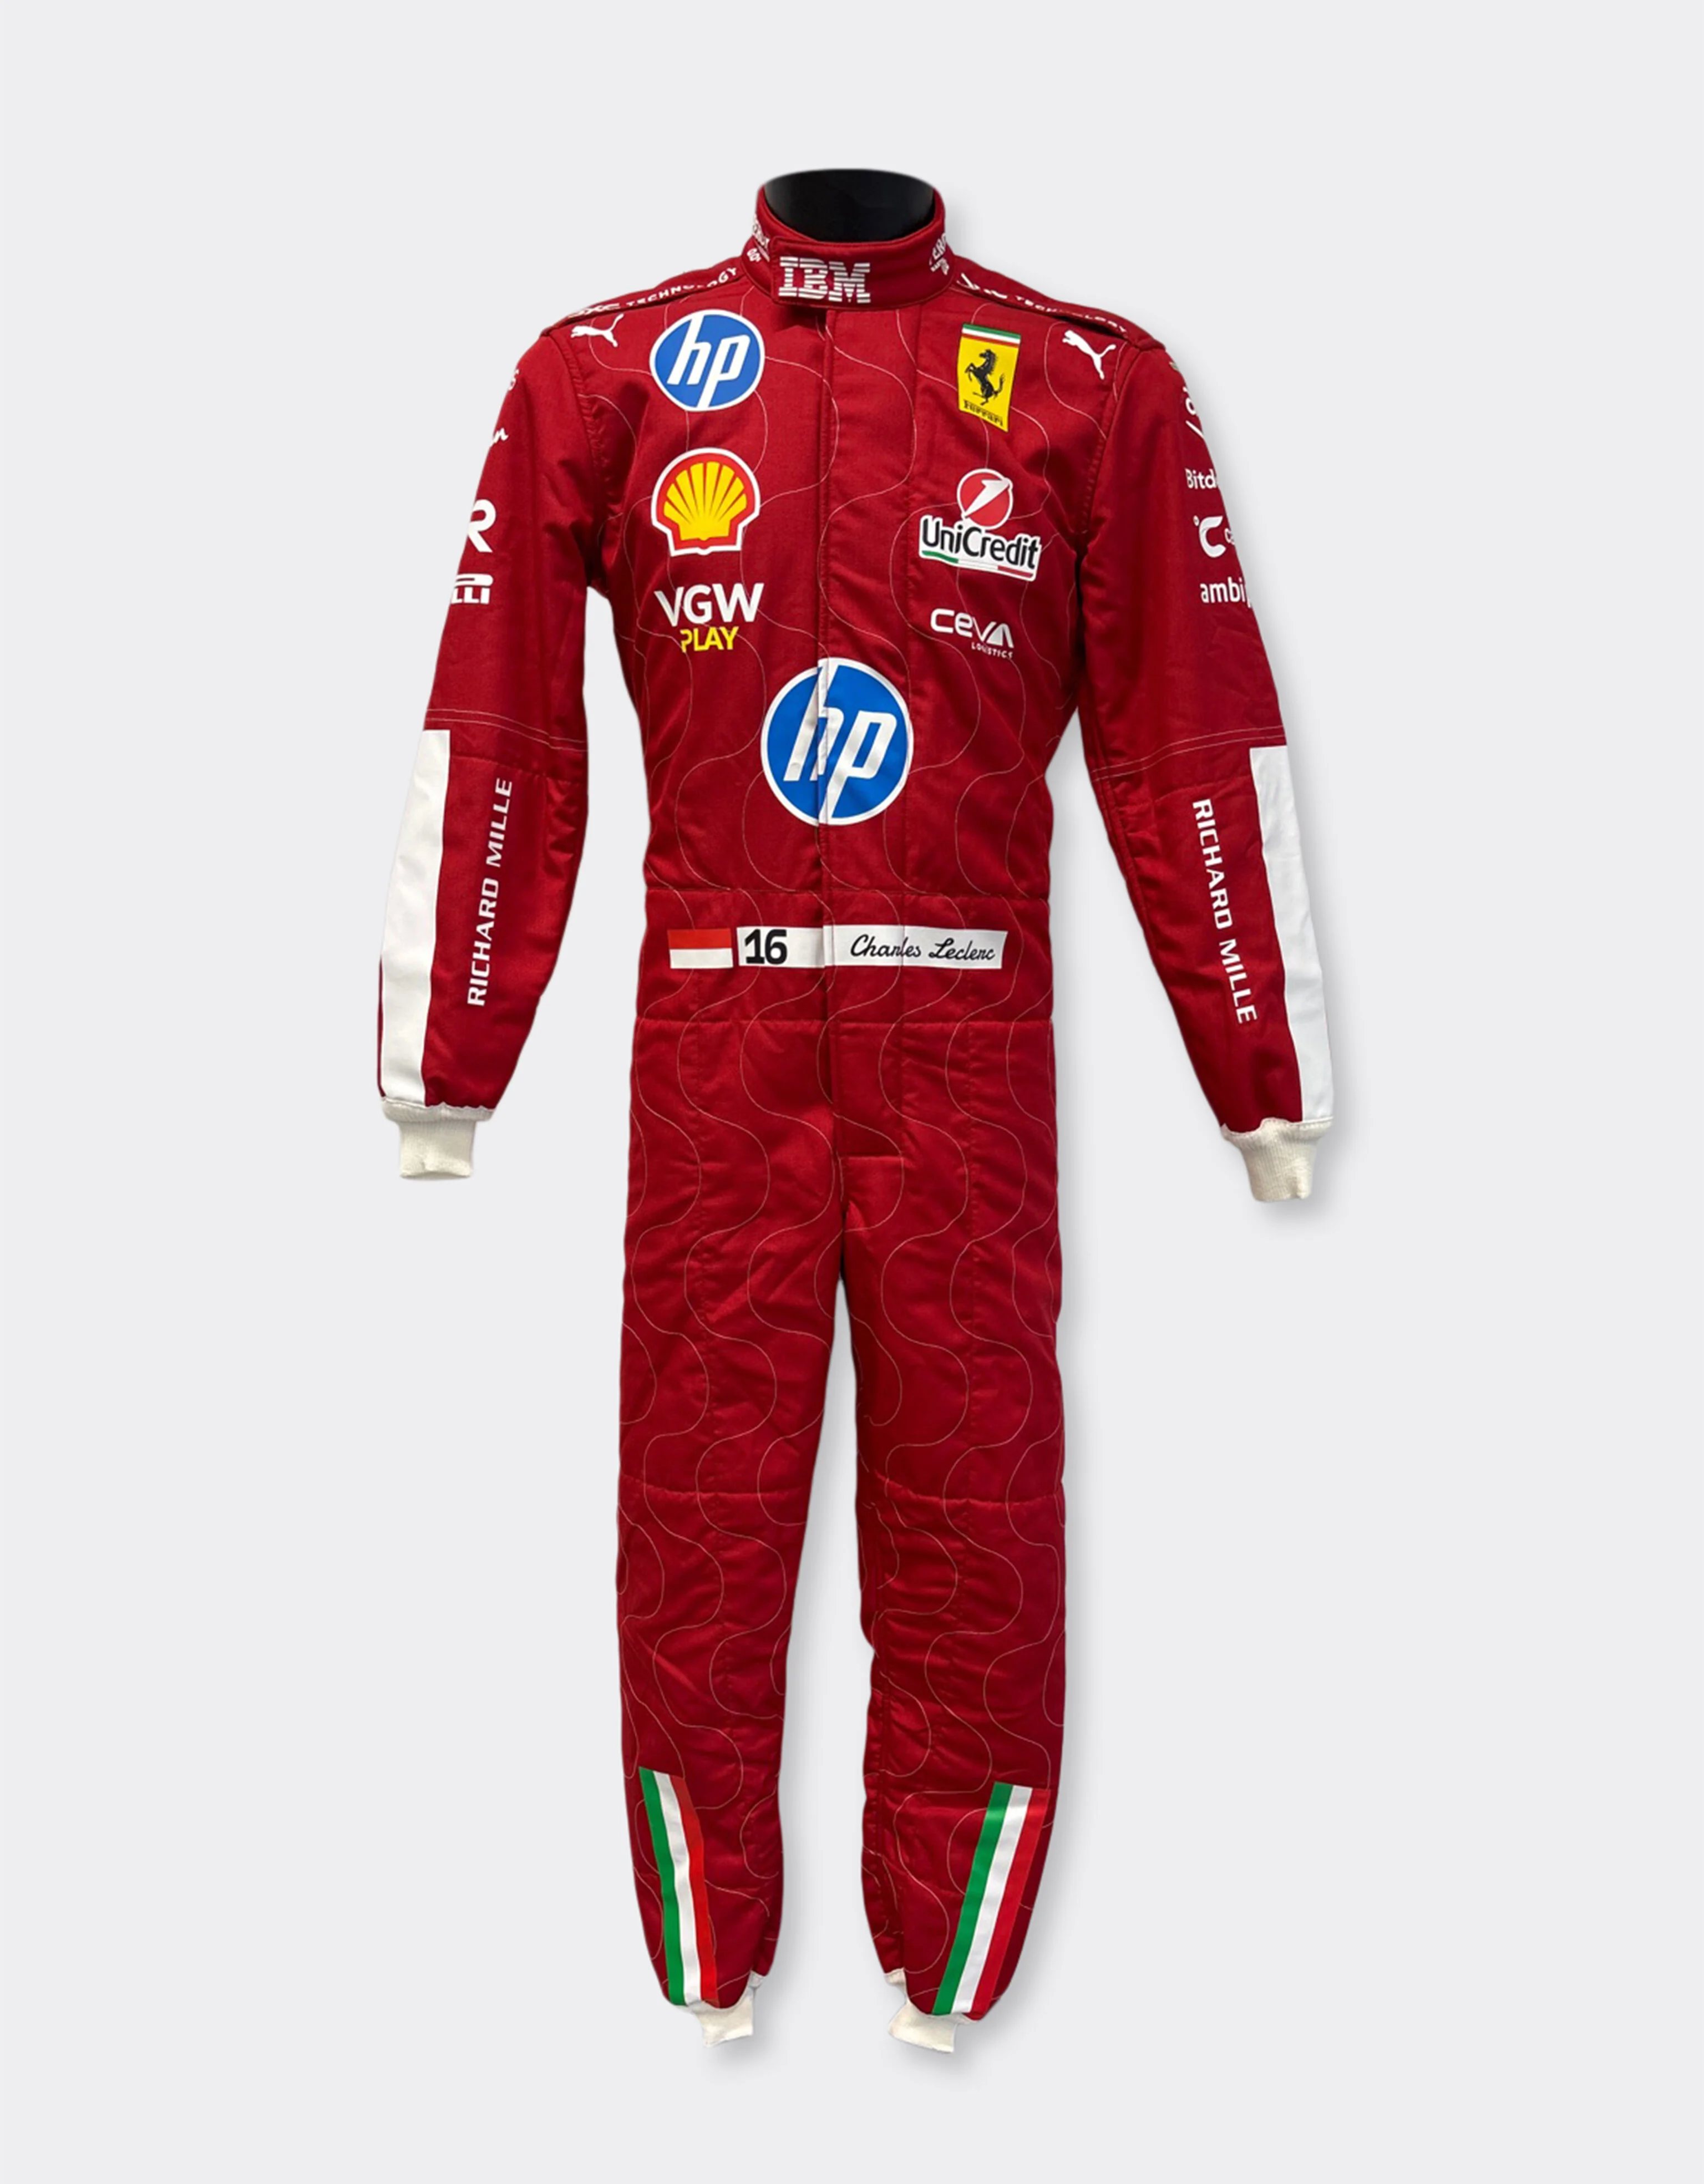
Element 2: Race Suit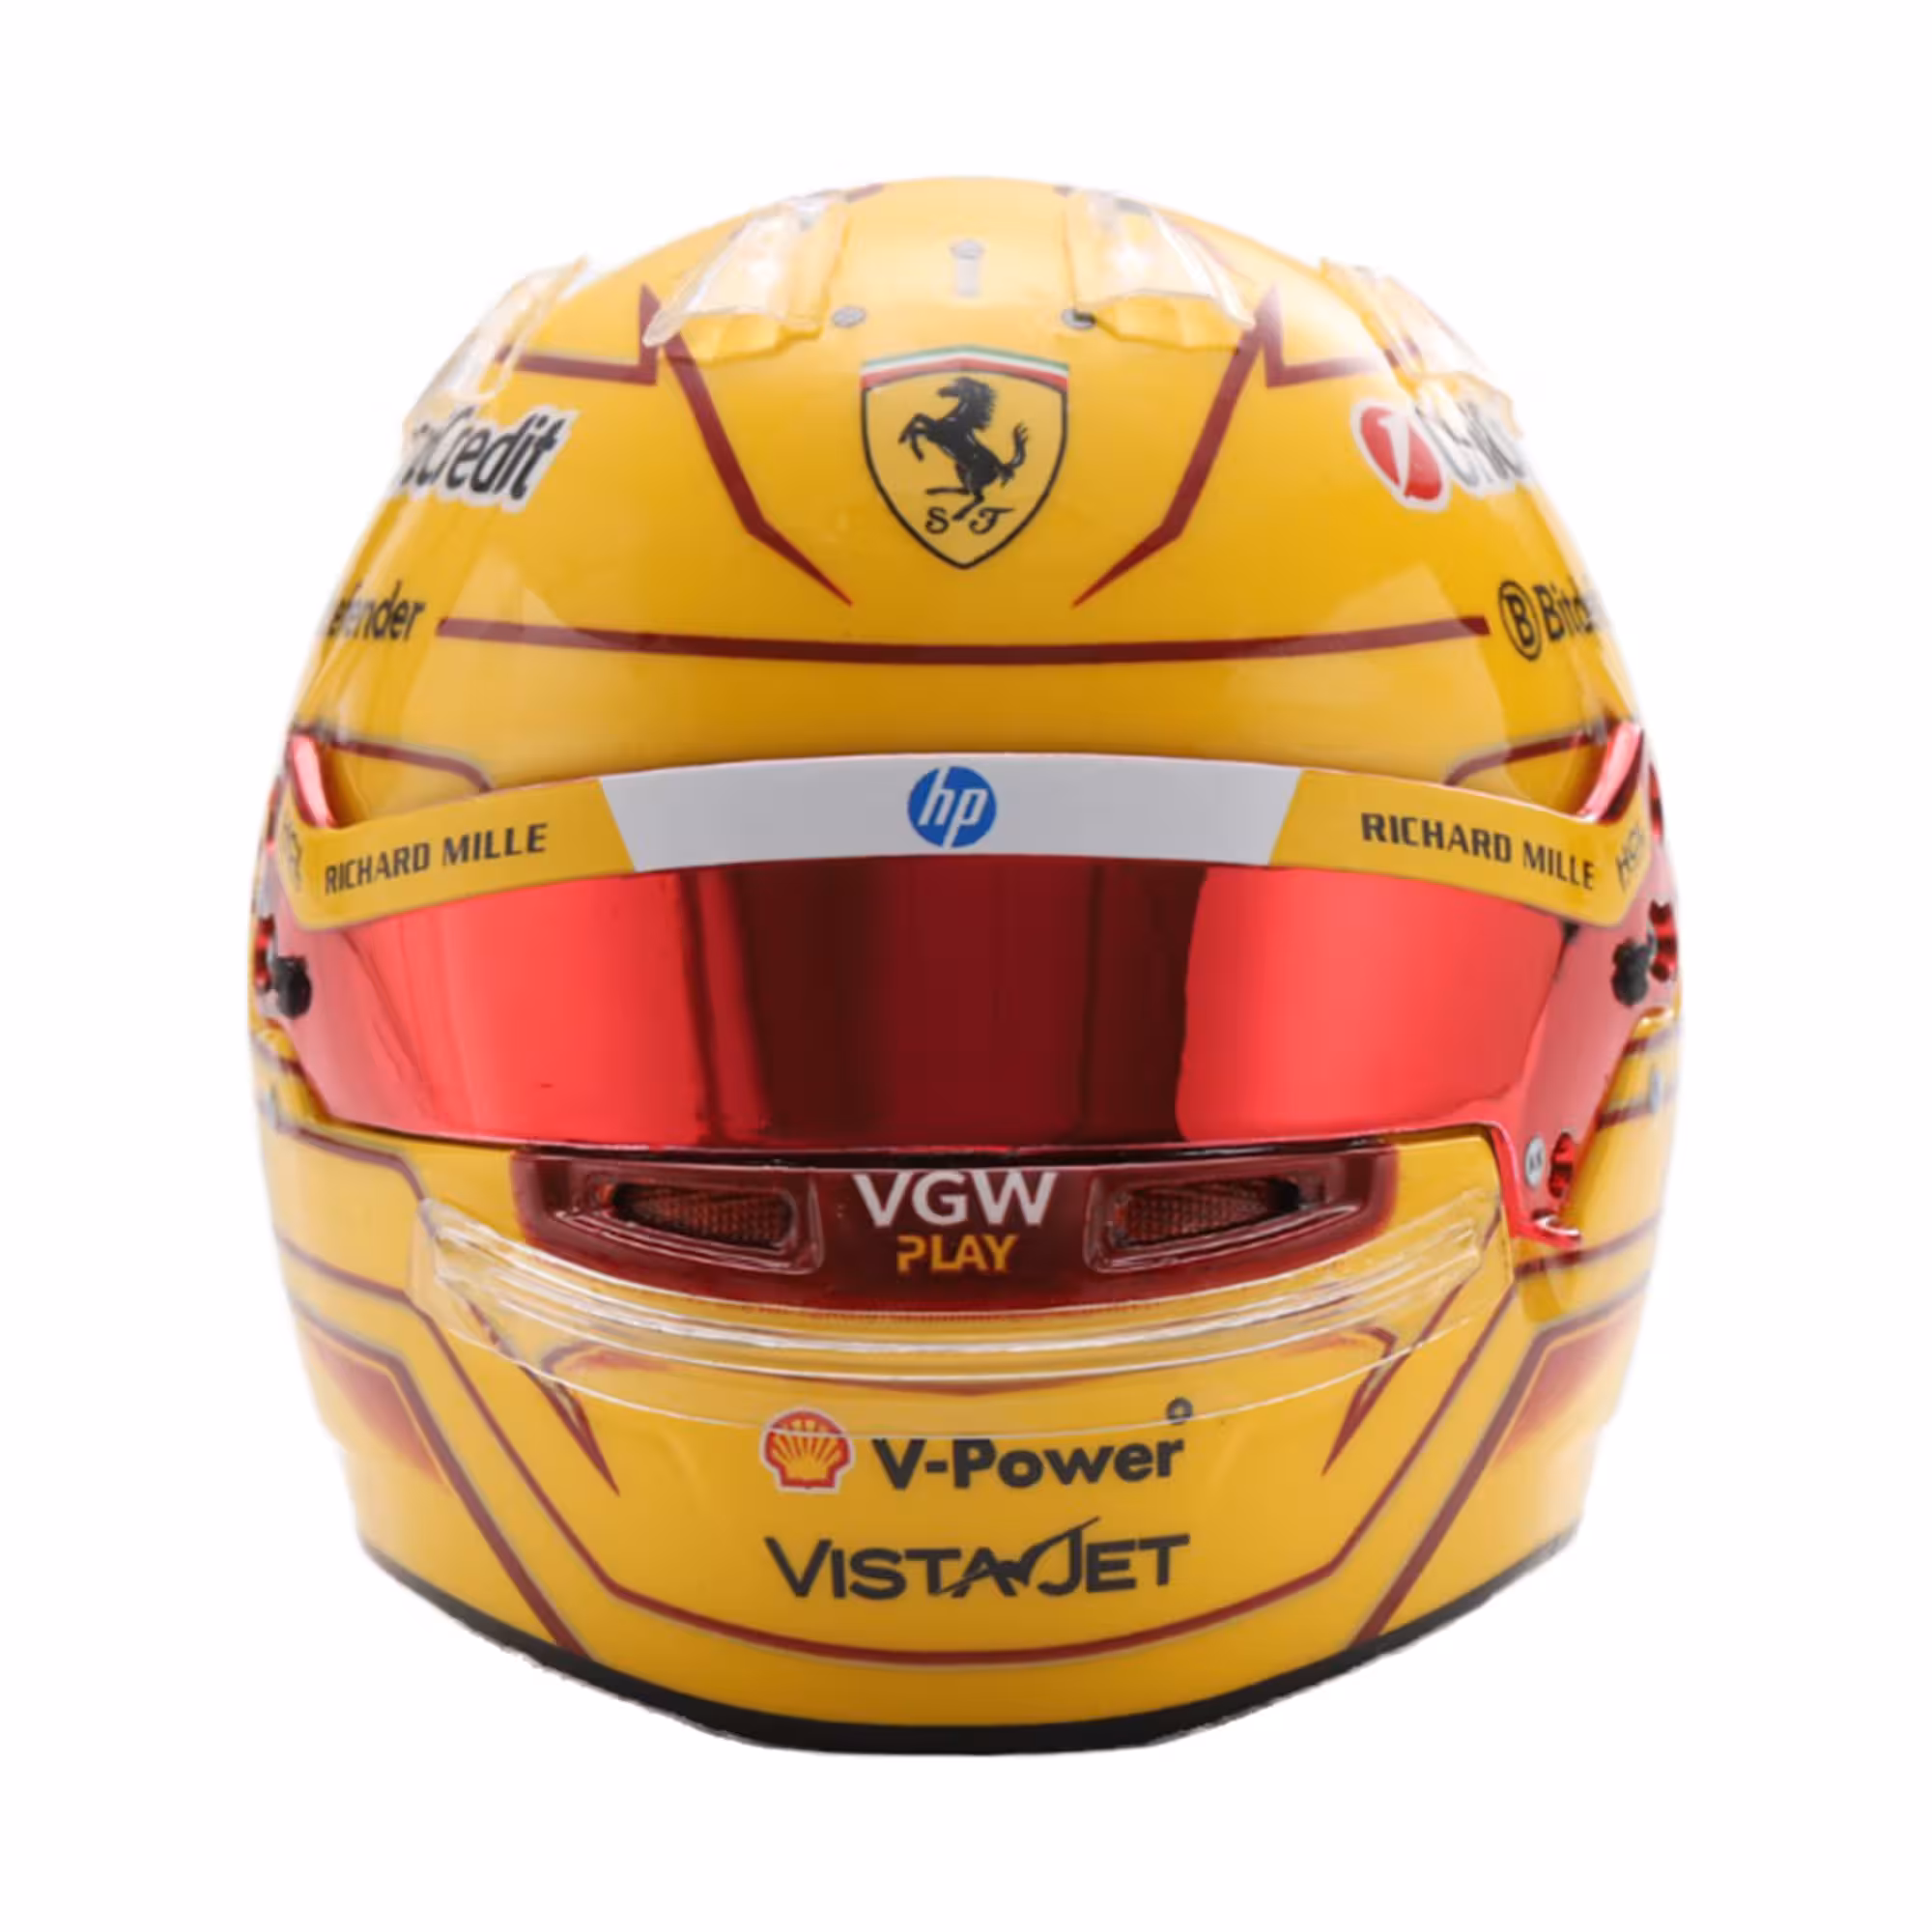
Element 2: Reference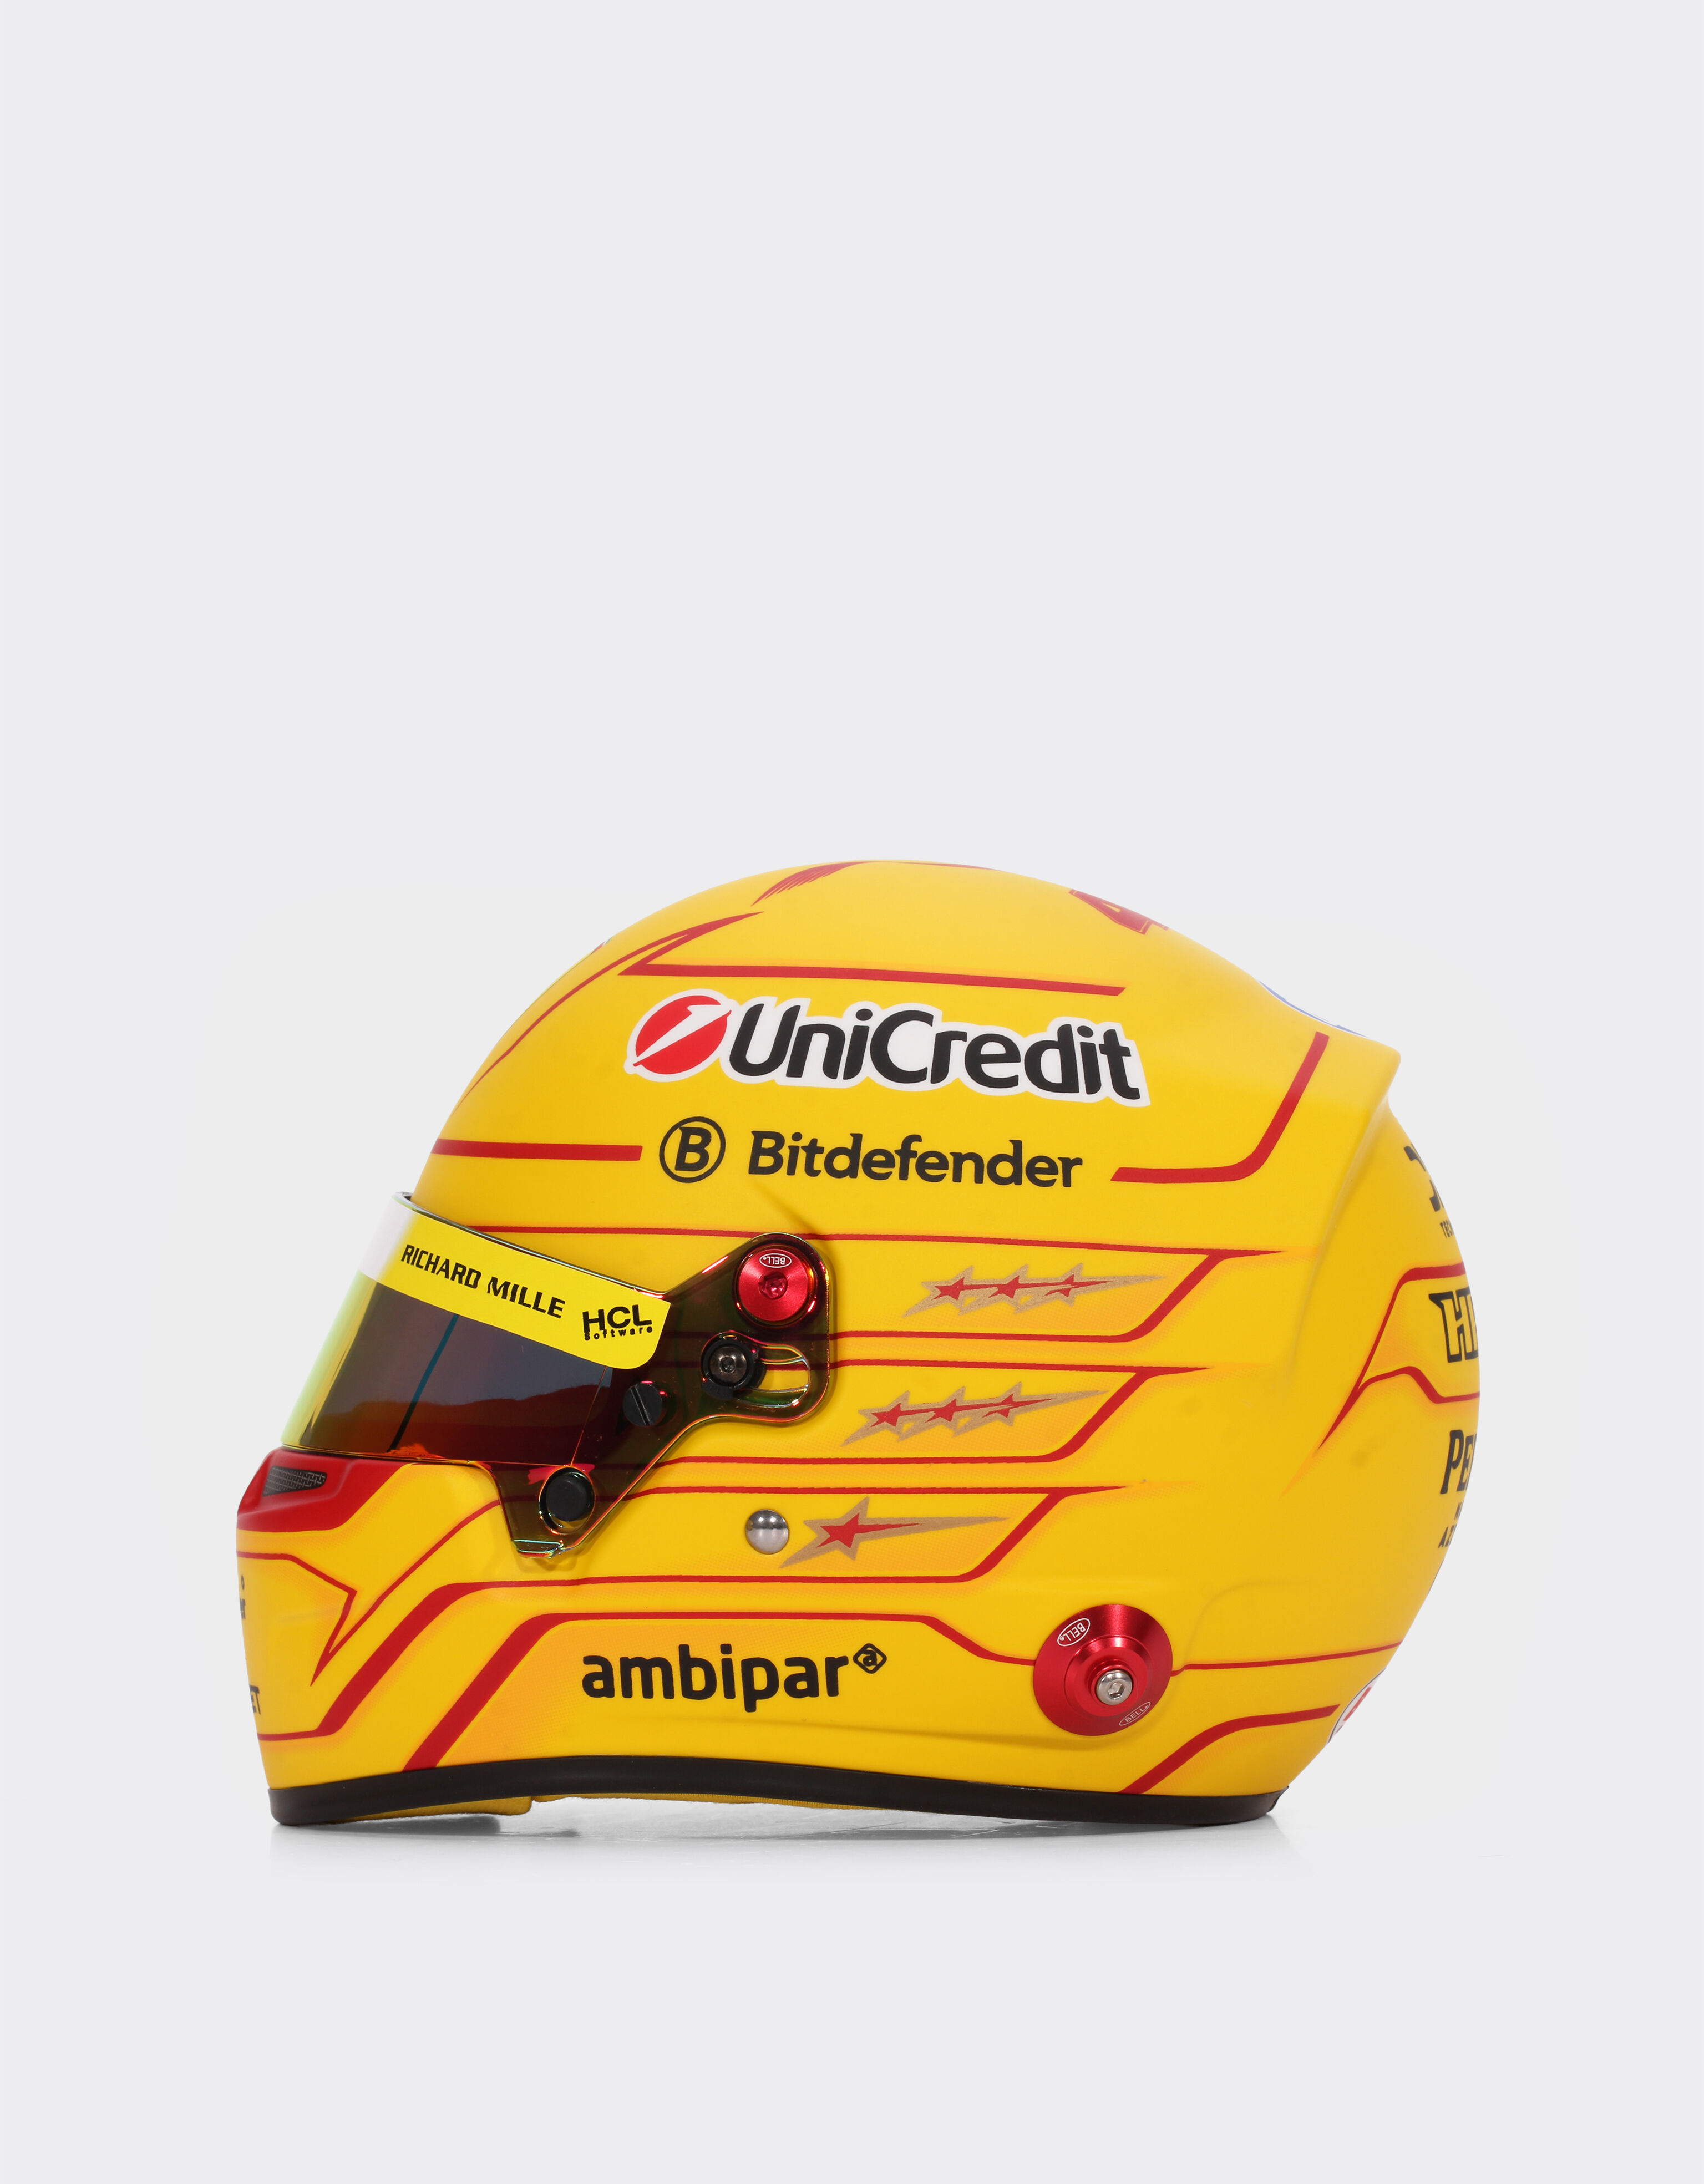
Element 2: Detail Shot
Element 3: Car Front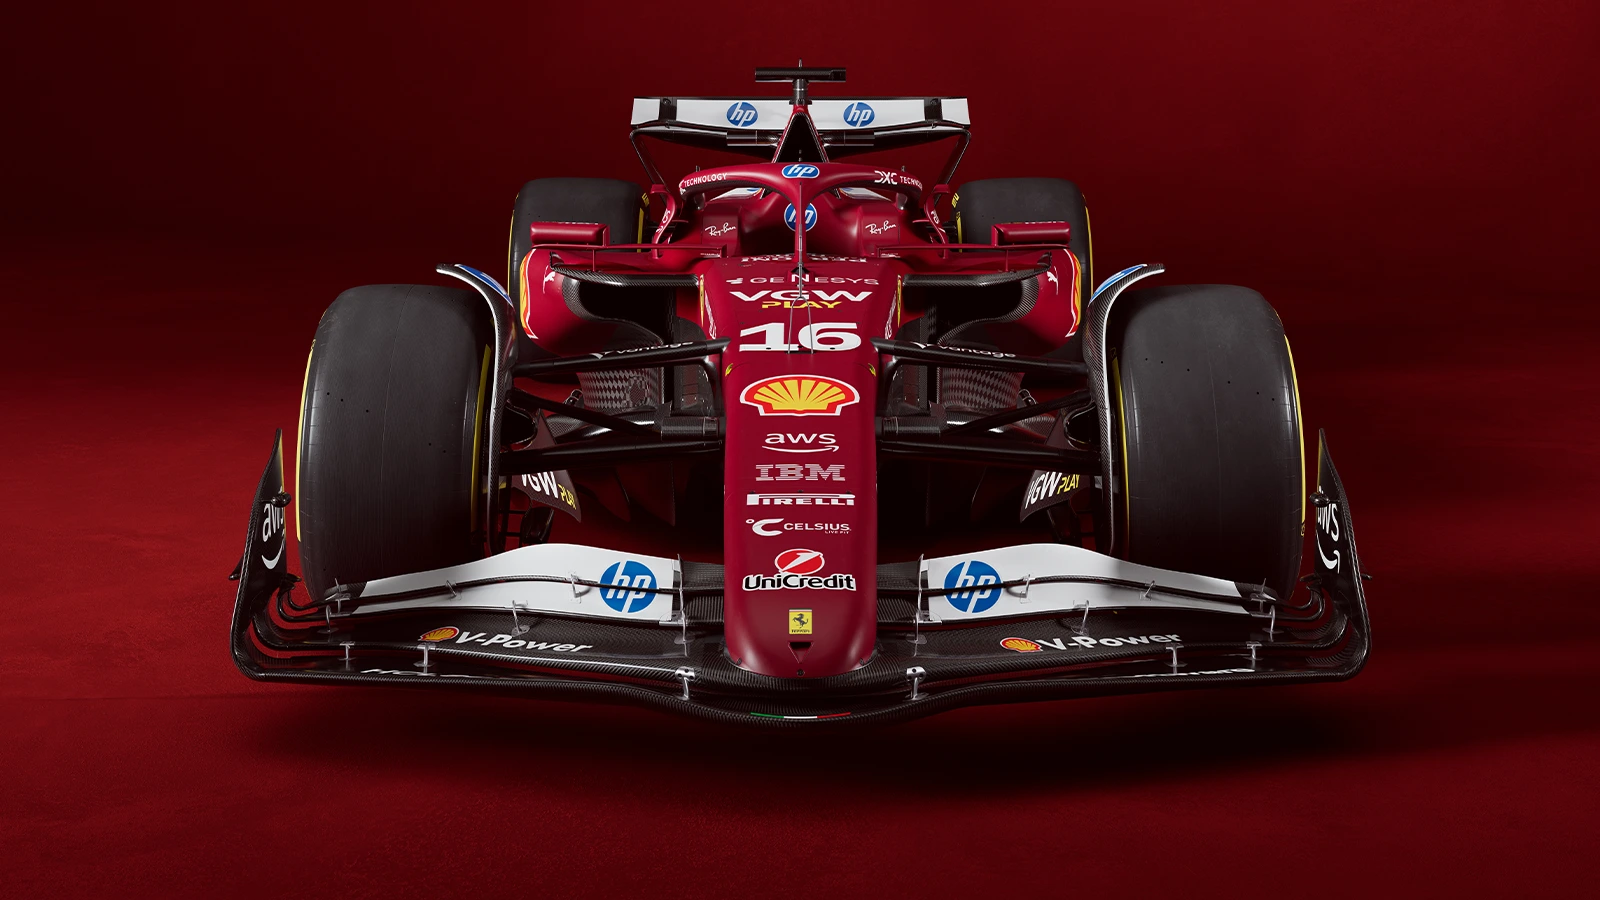
Element 3: Side View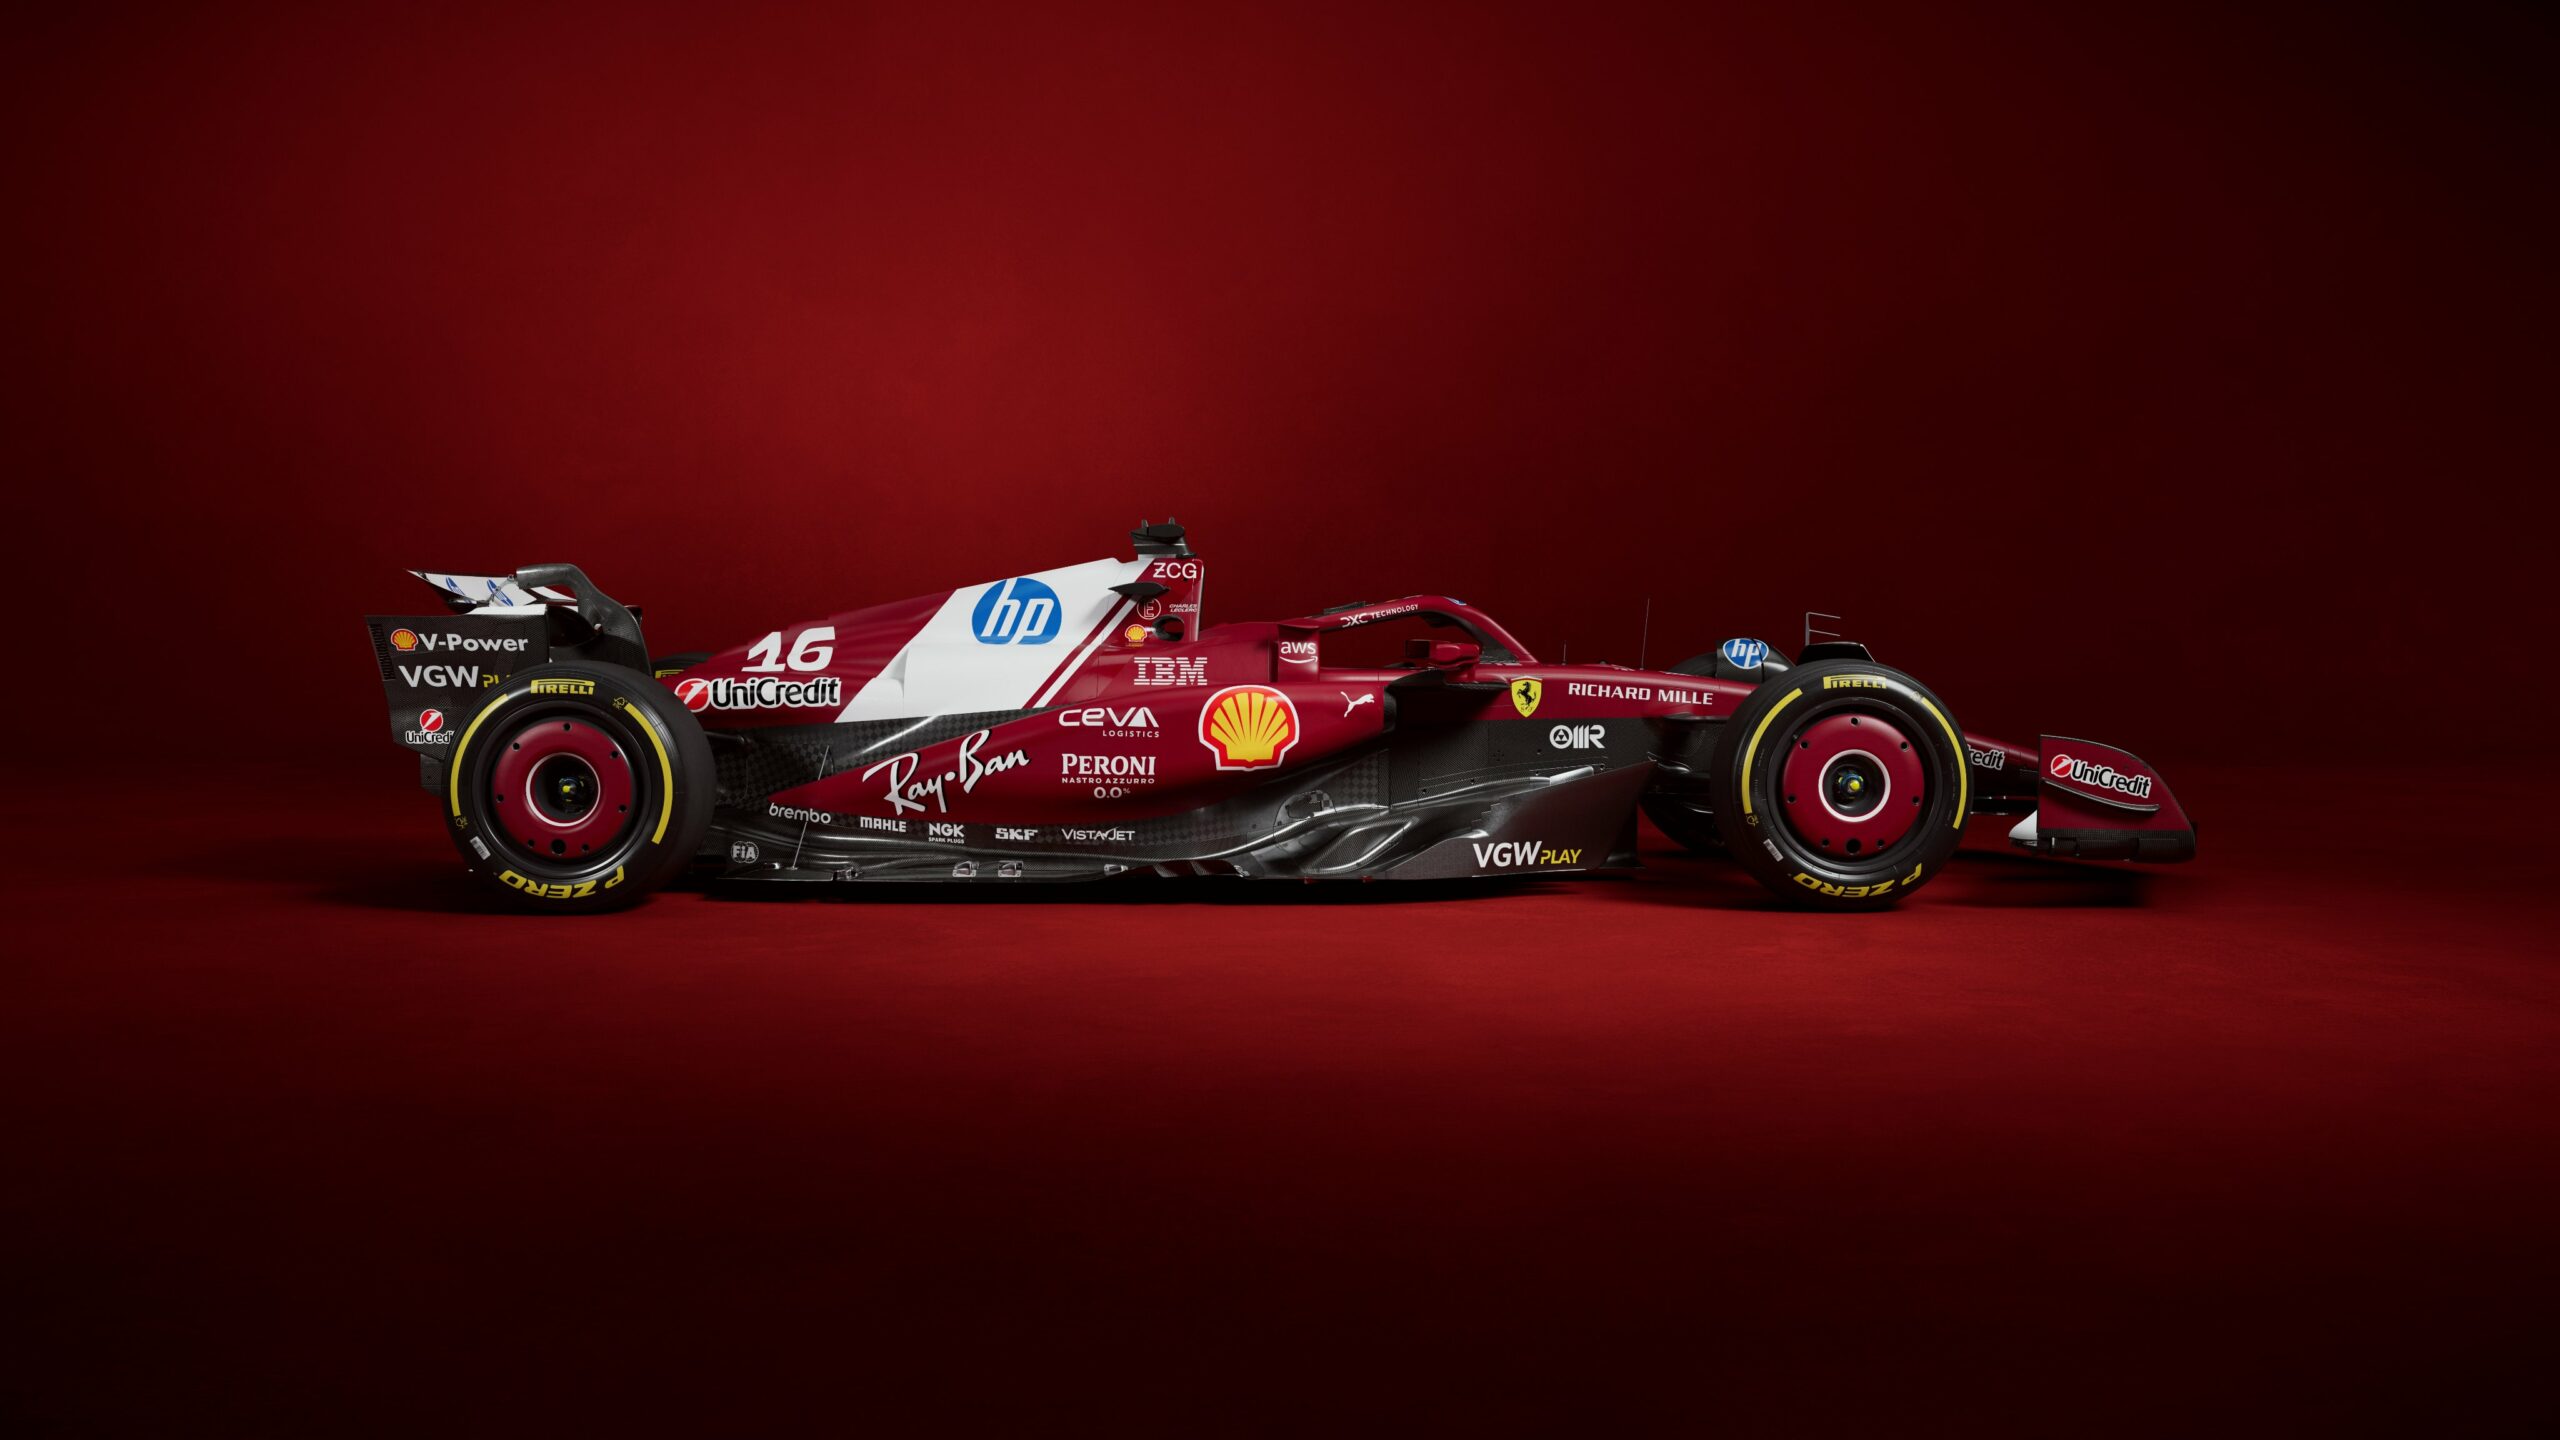
Element 3: Detail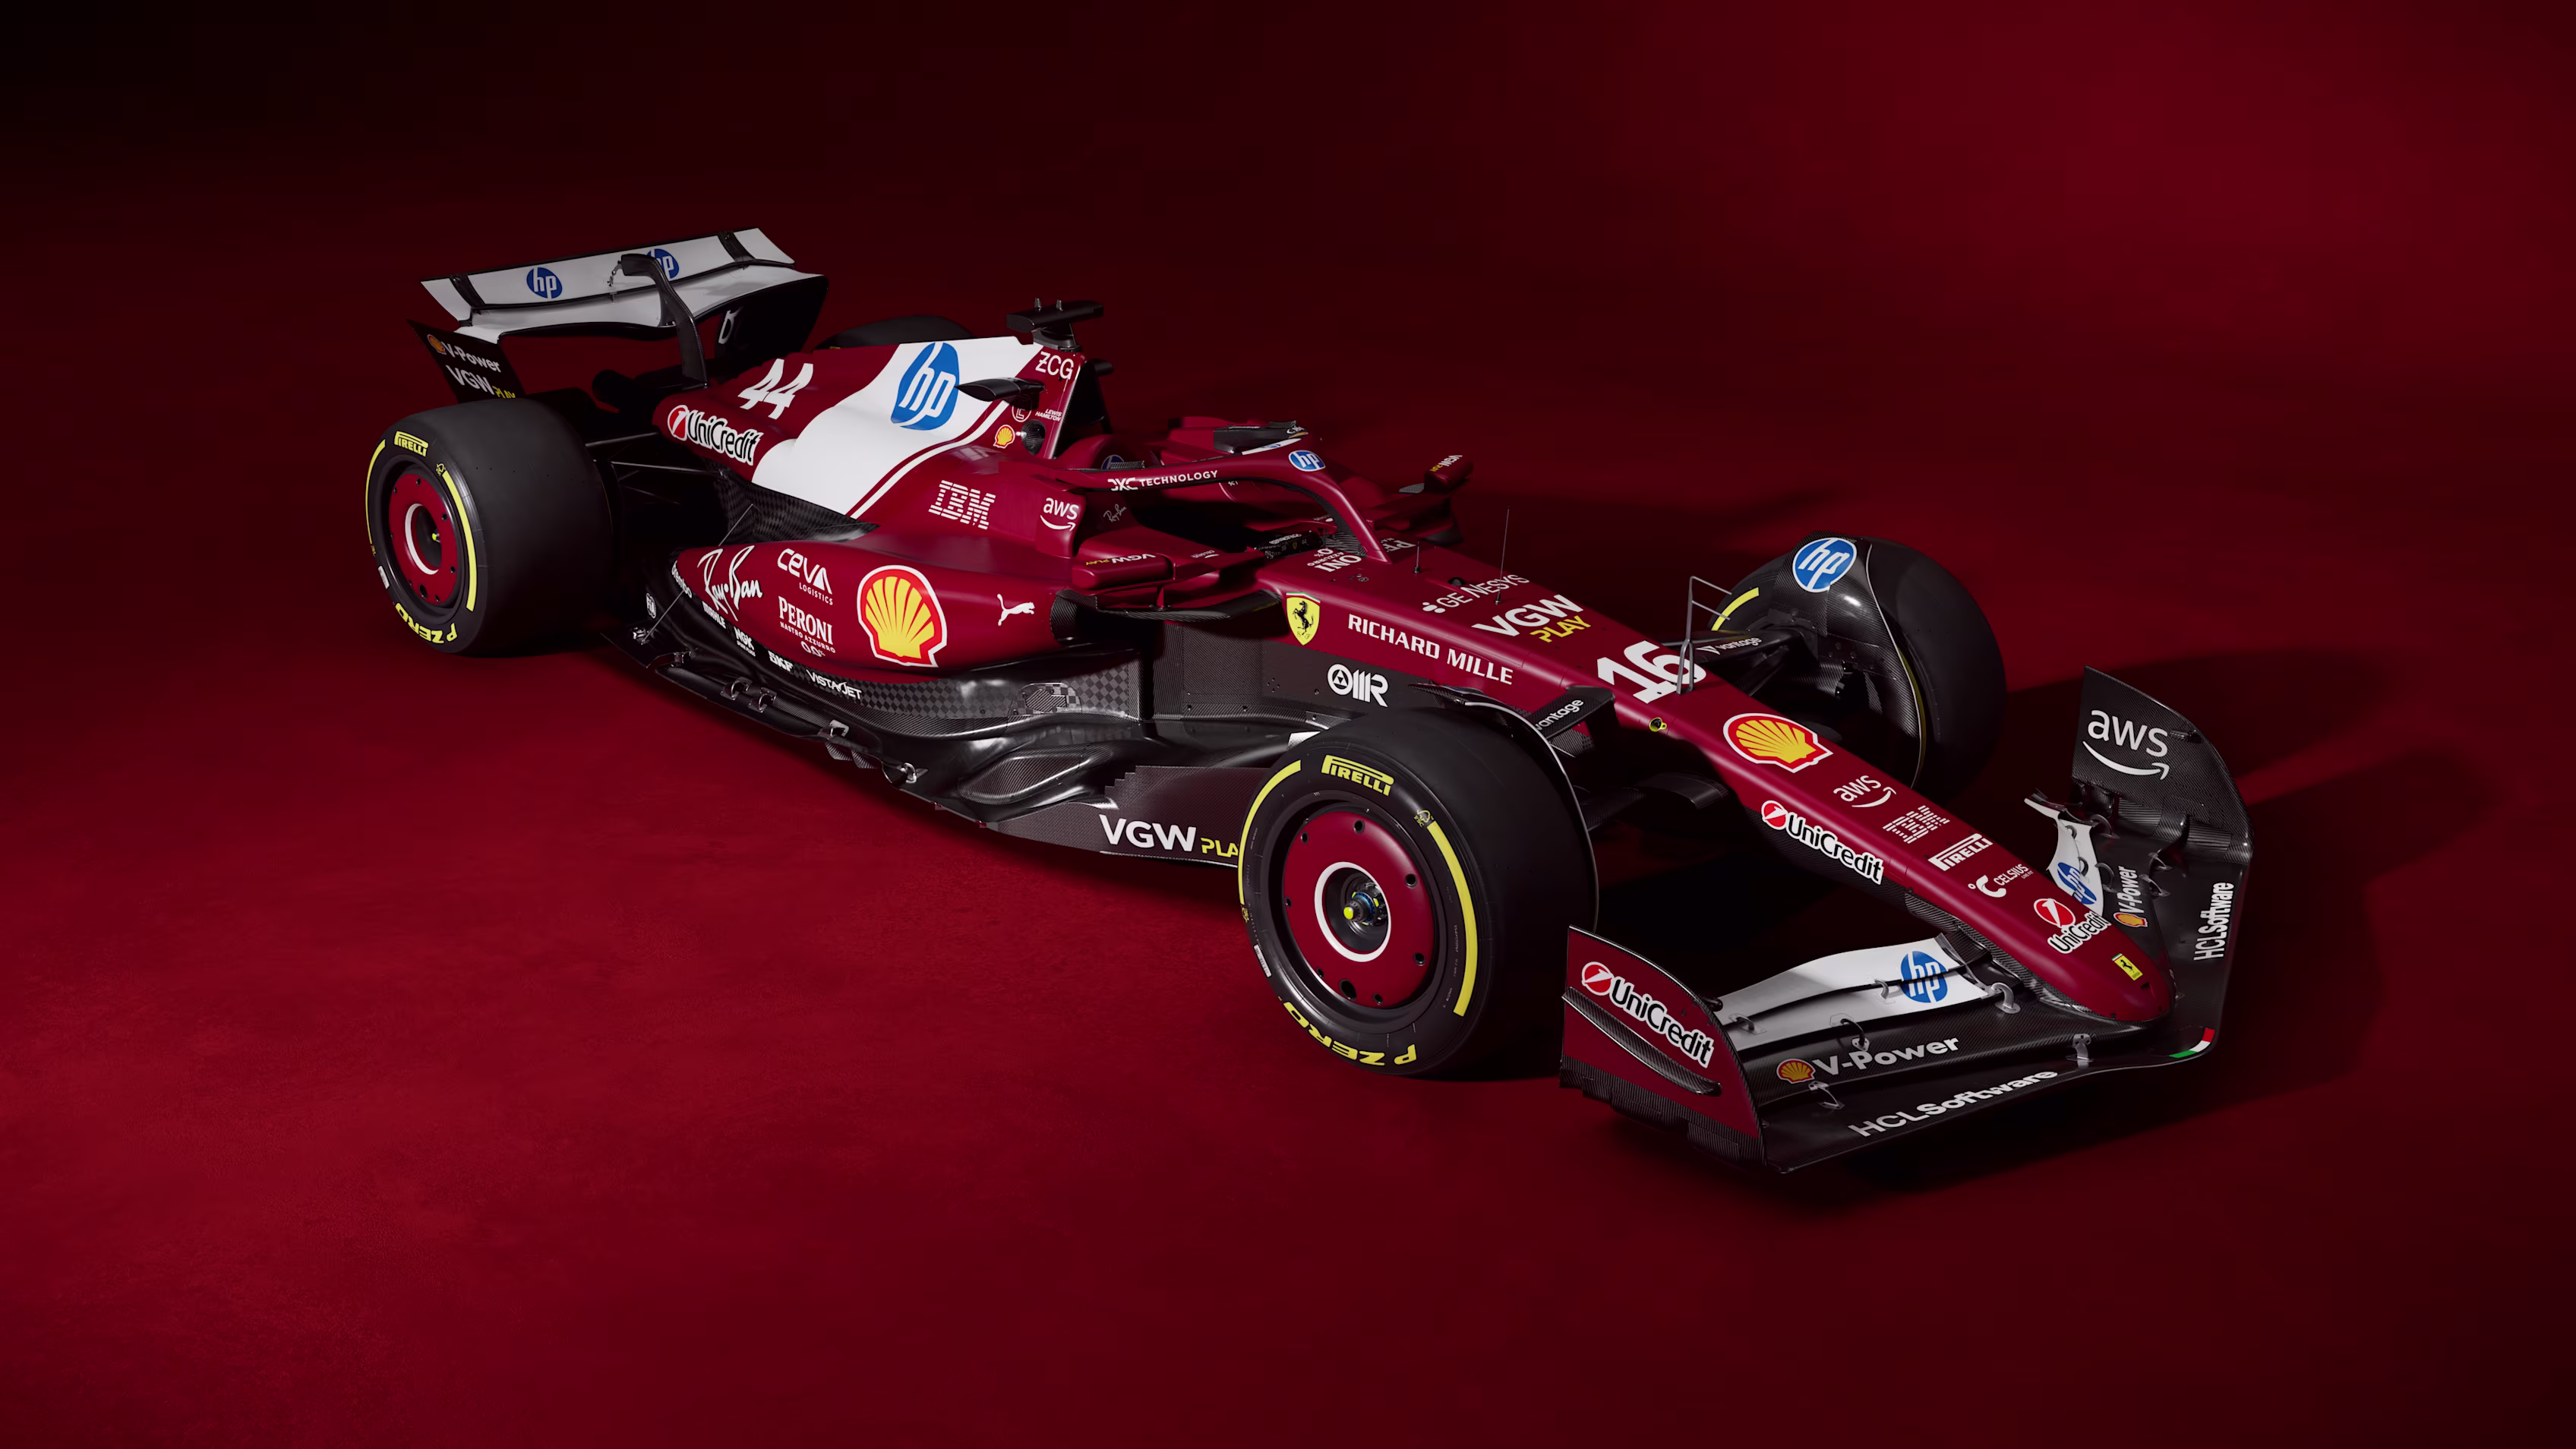
Element 3: Rear View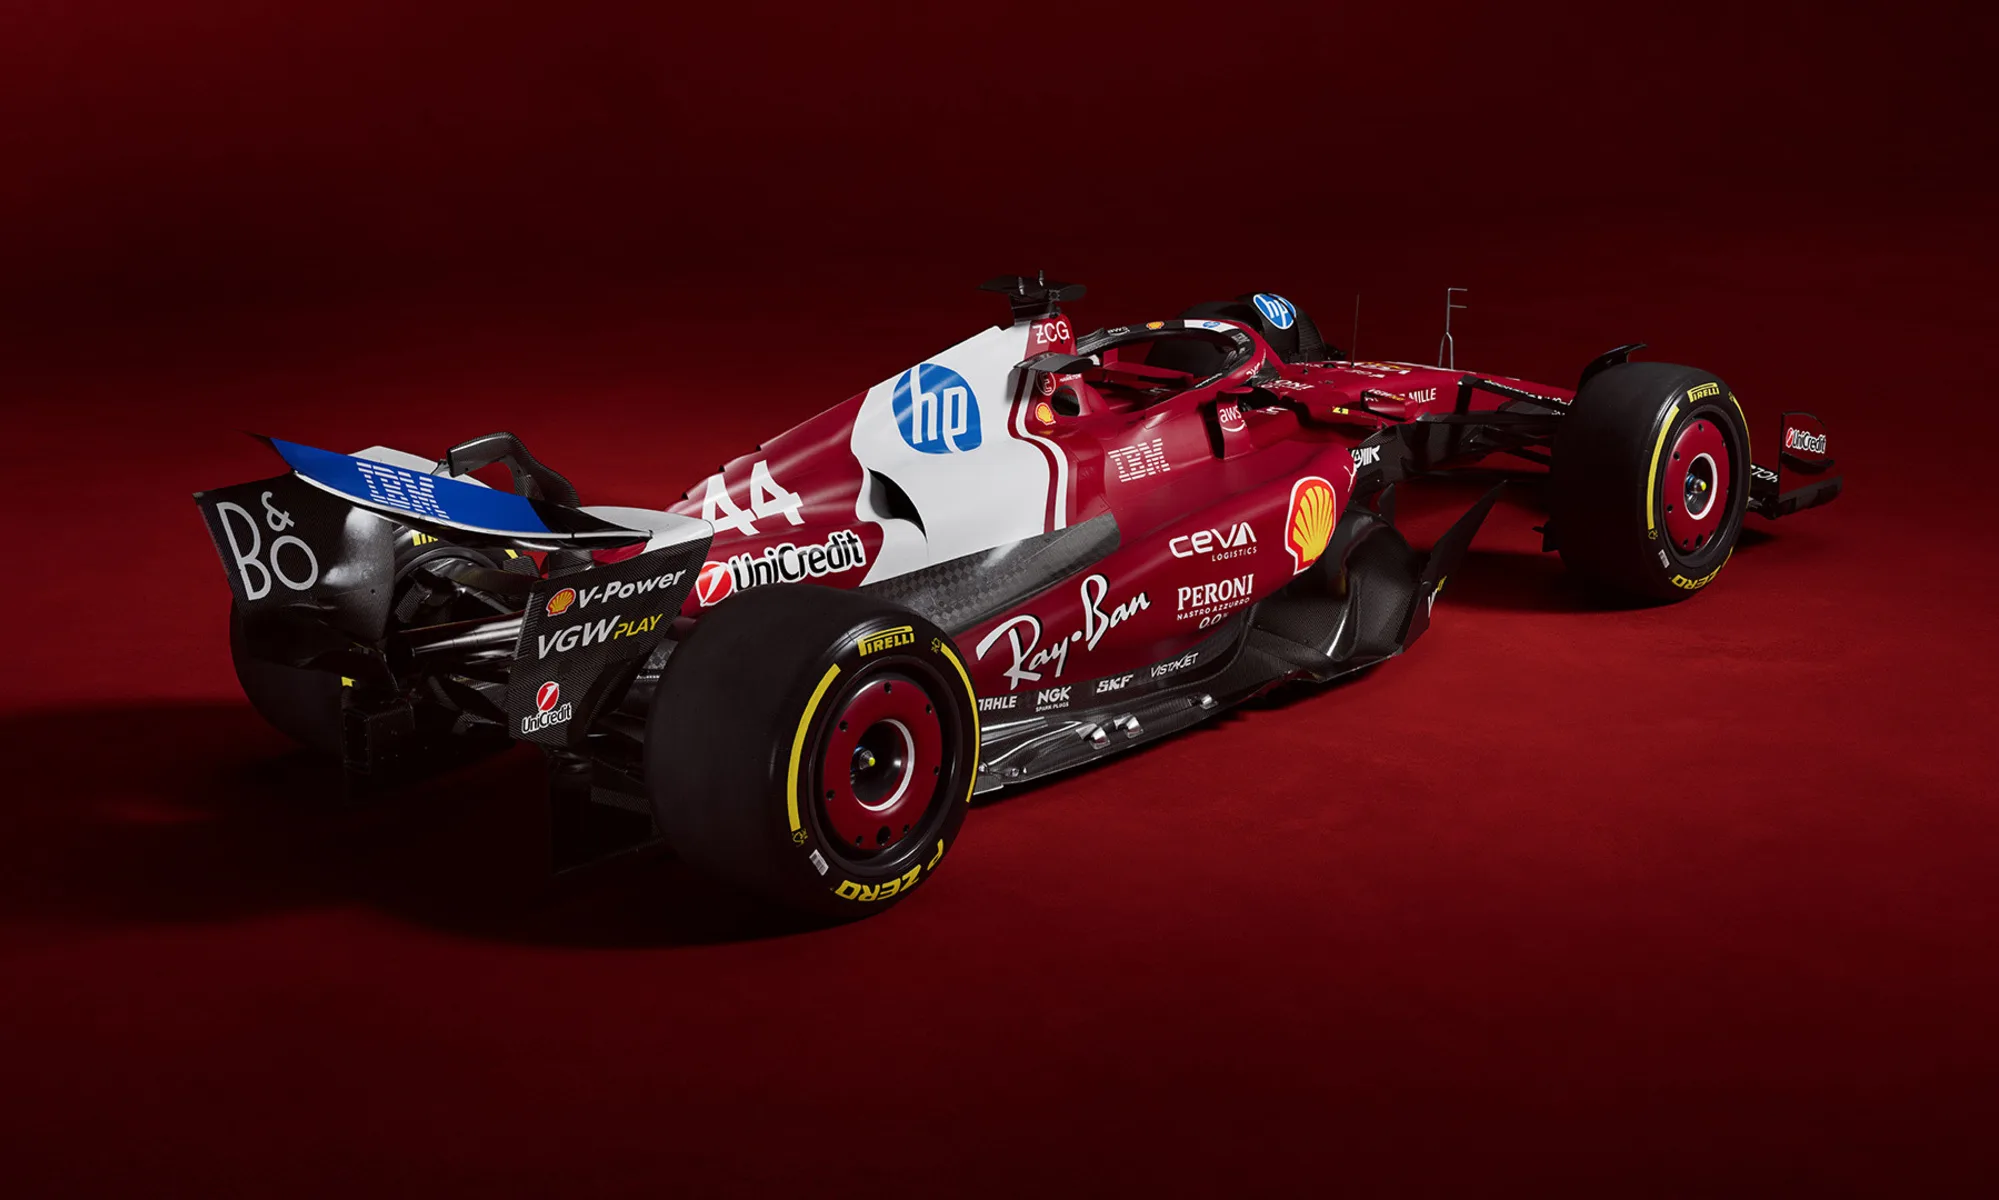
These images "lock" the visual identity of each element across all shots.
Step 3: Write Shot-by-Shot Prompts
For each shot, write a mini-storyboard that includes:
[Camera Language] + [Subject & Action] + [Environment] + [Lighting] + [Mood]
Example Shot 1:
Fade in from black. Extreme slow motion, tight medium close-up of the driver
in @Element1 pulling the zipper up from chest to collar. Shallow depth of
field, warm amber garage light. The zipper teeth catch the light as they
close. 35mm film grain.
Example Shot 4:
Jump cut. FPV drone chasing @Element3 from above and behind, sweeping a
wide 180-degree orbit around the car as it accelerates through a corner.
Golden-hour light, heat shimmer off asphalt, engine roar. Motion blur on
background, car sharp.
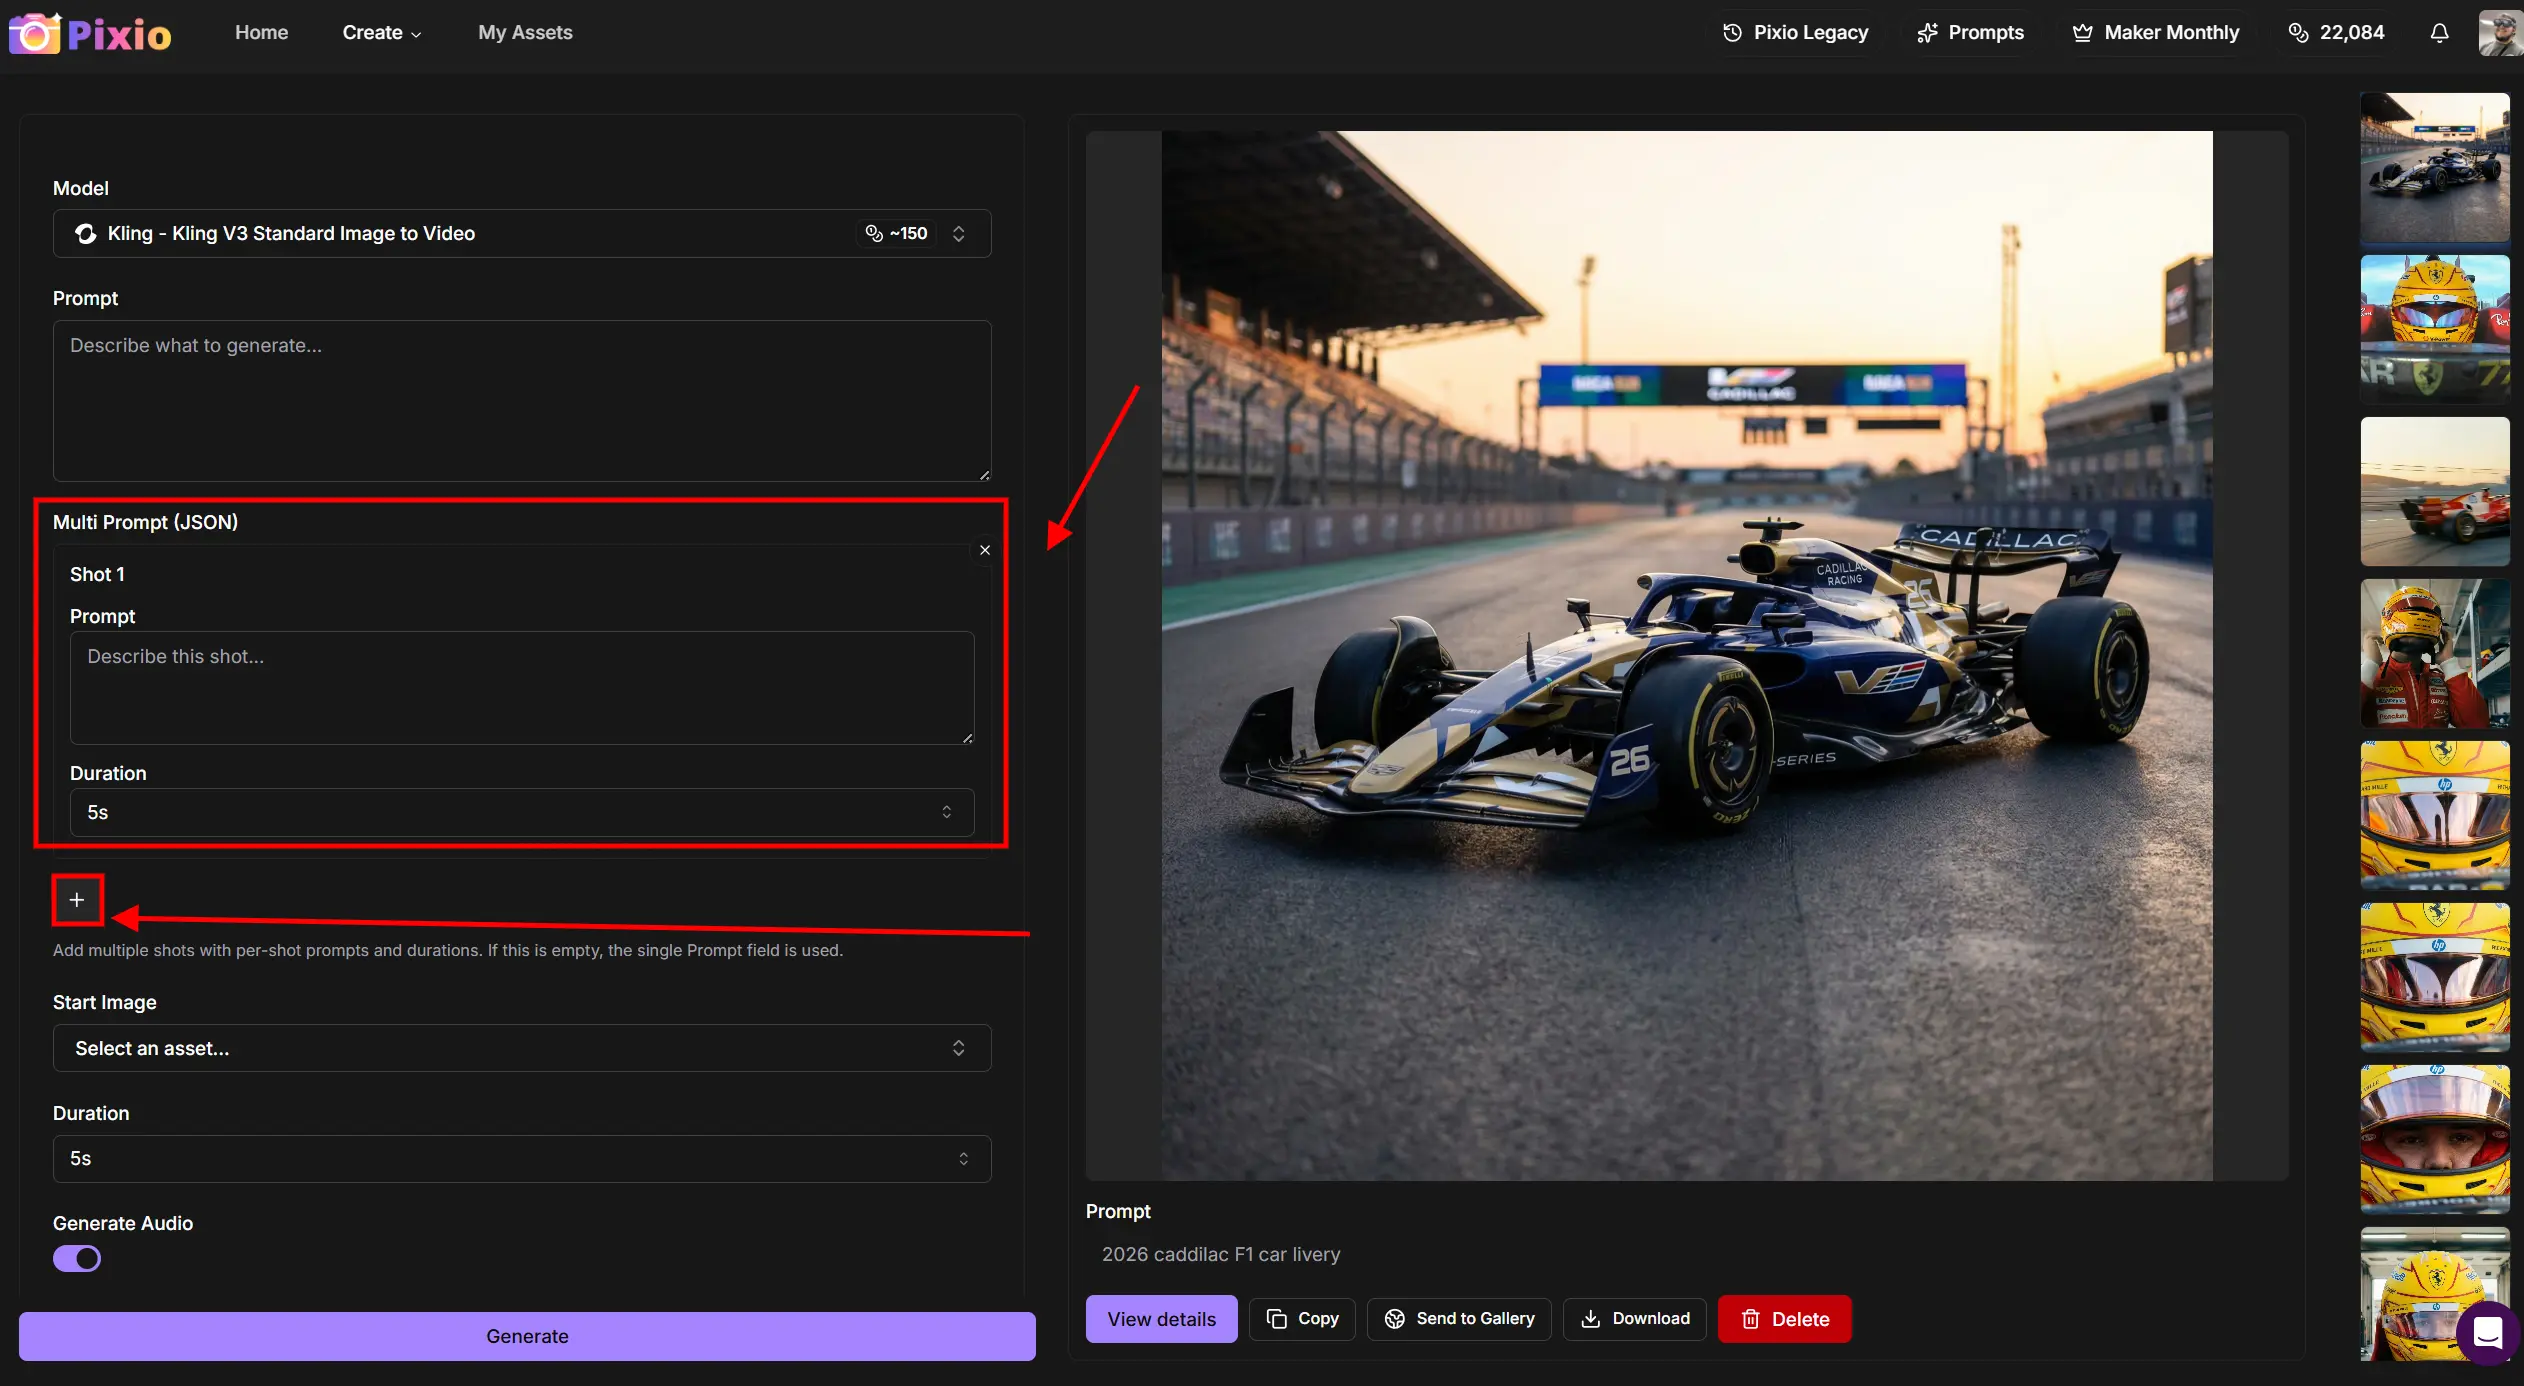
Step 4: Select Duration for Each Shot
One of Kling 3.0's most powerful features is per-shot duration control. In Pixio, you can set the exact length of each shot independently:
Duration Control:
- Shot 1: 4 seconds
- Shot 2: 3 seconds
- Shot 3: 4 seconds
- Shot 4: 4 seconds
- Total: 15 seconds
Each shot can be anywhere from 3-15 seconds, as long as the total doesn't exceed 15 seconds. This gives you complete control over pacing and narrative rhythm.
This is crucial for storytelling. Slow down on detail shots (zipper close-up), speed through transitions, and extend the final aerial shot for dramatic impact.
Step 5: Set Your Parameters
| Setting | Recommended Value |
|---|---|
| Model | Kling 3.0 or o3 |
| Duration | 3-15 seconds total |
| Aspect Ratio | 16:9 (landscape) or 9:16 (vertical) |
| CFG Scale | 0.65 (for strict prompt adherence) |
| Audio | Enabled |
Step 6: Use a Strong Negative Prompt
Tell Kling what to avoid:
blur, distortion, low quality, grainy, pixelation, disfigured hands,
extra fingers, warped proportions, morphing face, flickering, jitter,
watermark, logo, cartoon, glitch, duplicate limbs
🎬 Real-World Example: F1 Racing Sequence
Here's a complete 15-second multi-shot example using Kling 3.0 on Pixio:
Starting Frame
Elements
| Slot | Image |
|---|---|
| @Element1 | Character reference (your face) |
| @Element2 | Red Ferrari race suit |
| @Element3 | Ferrari F1 car |
Shot Breakdown
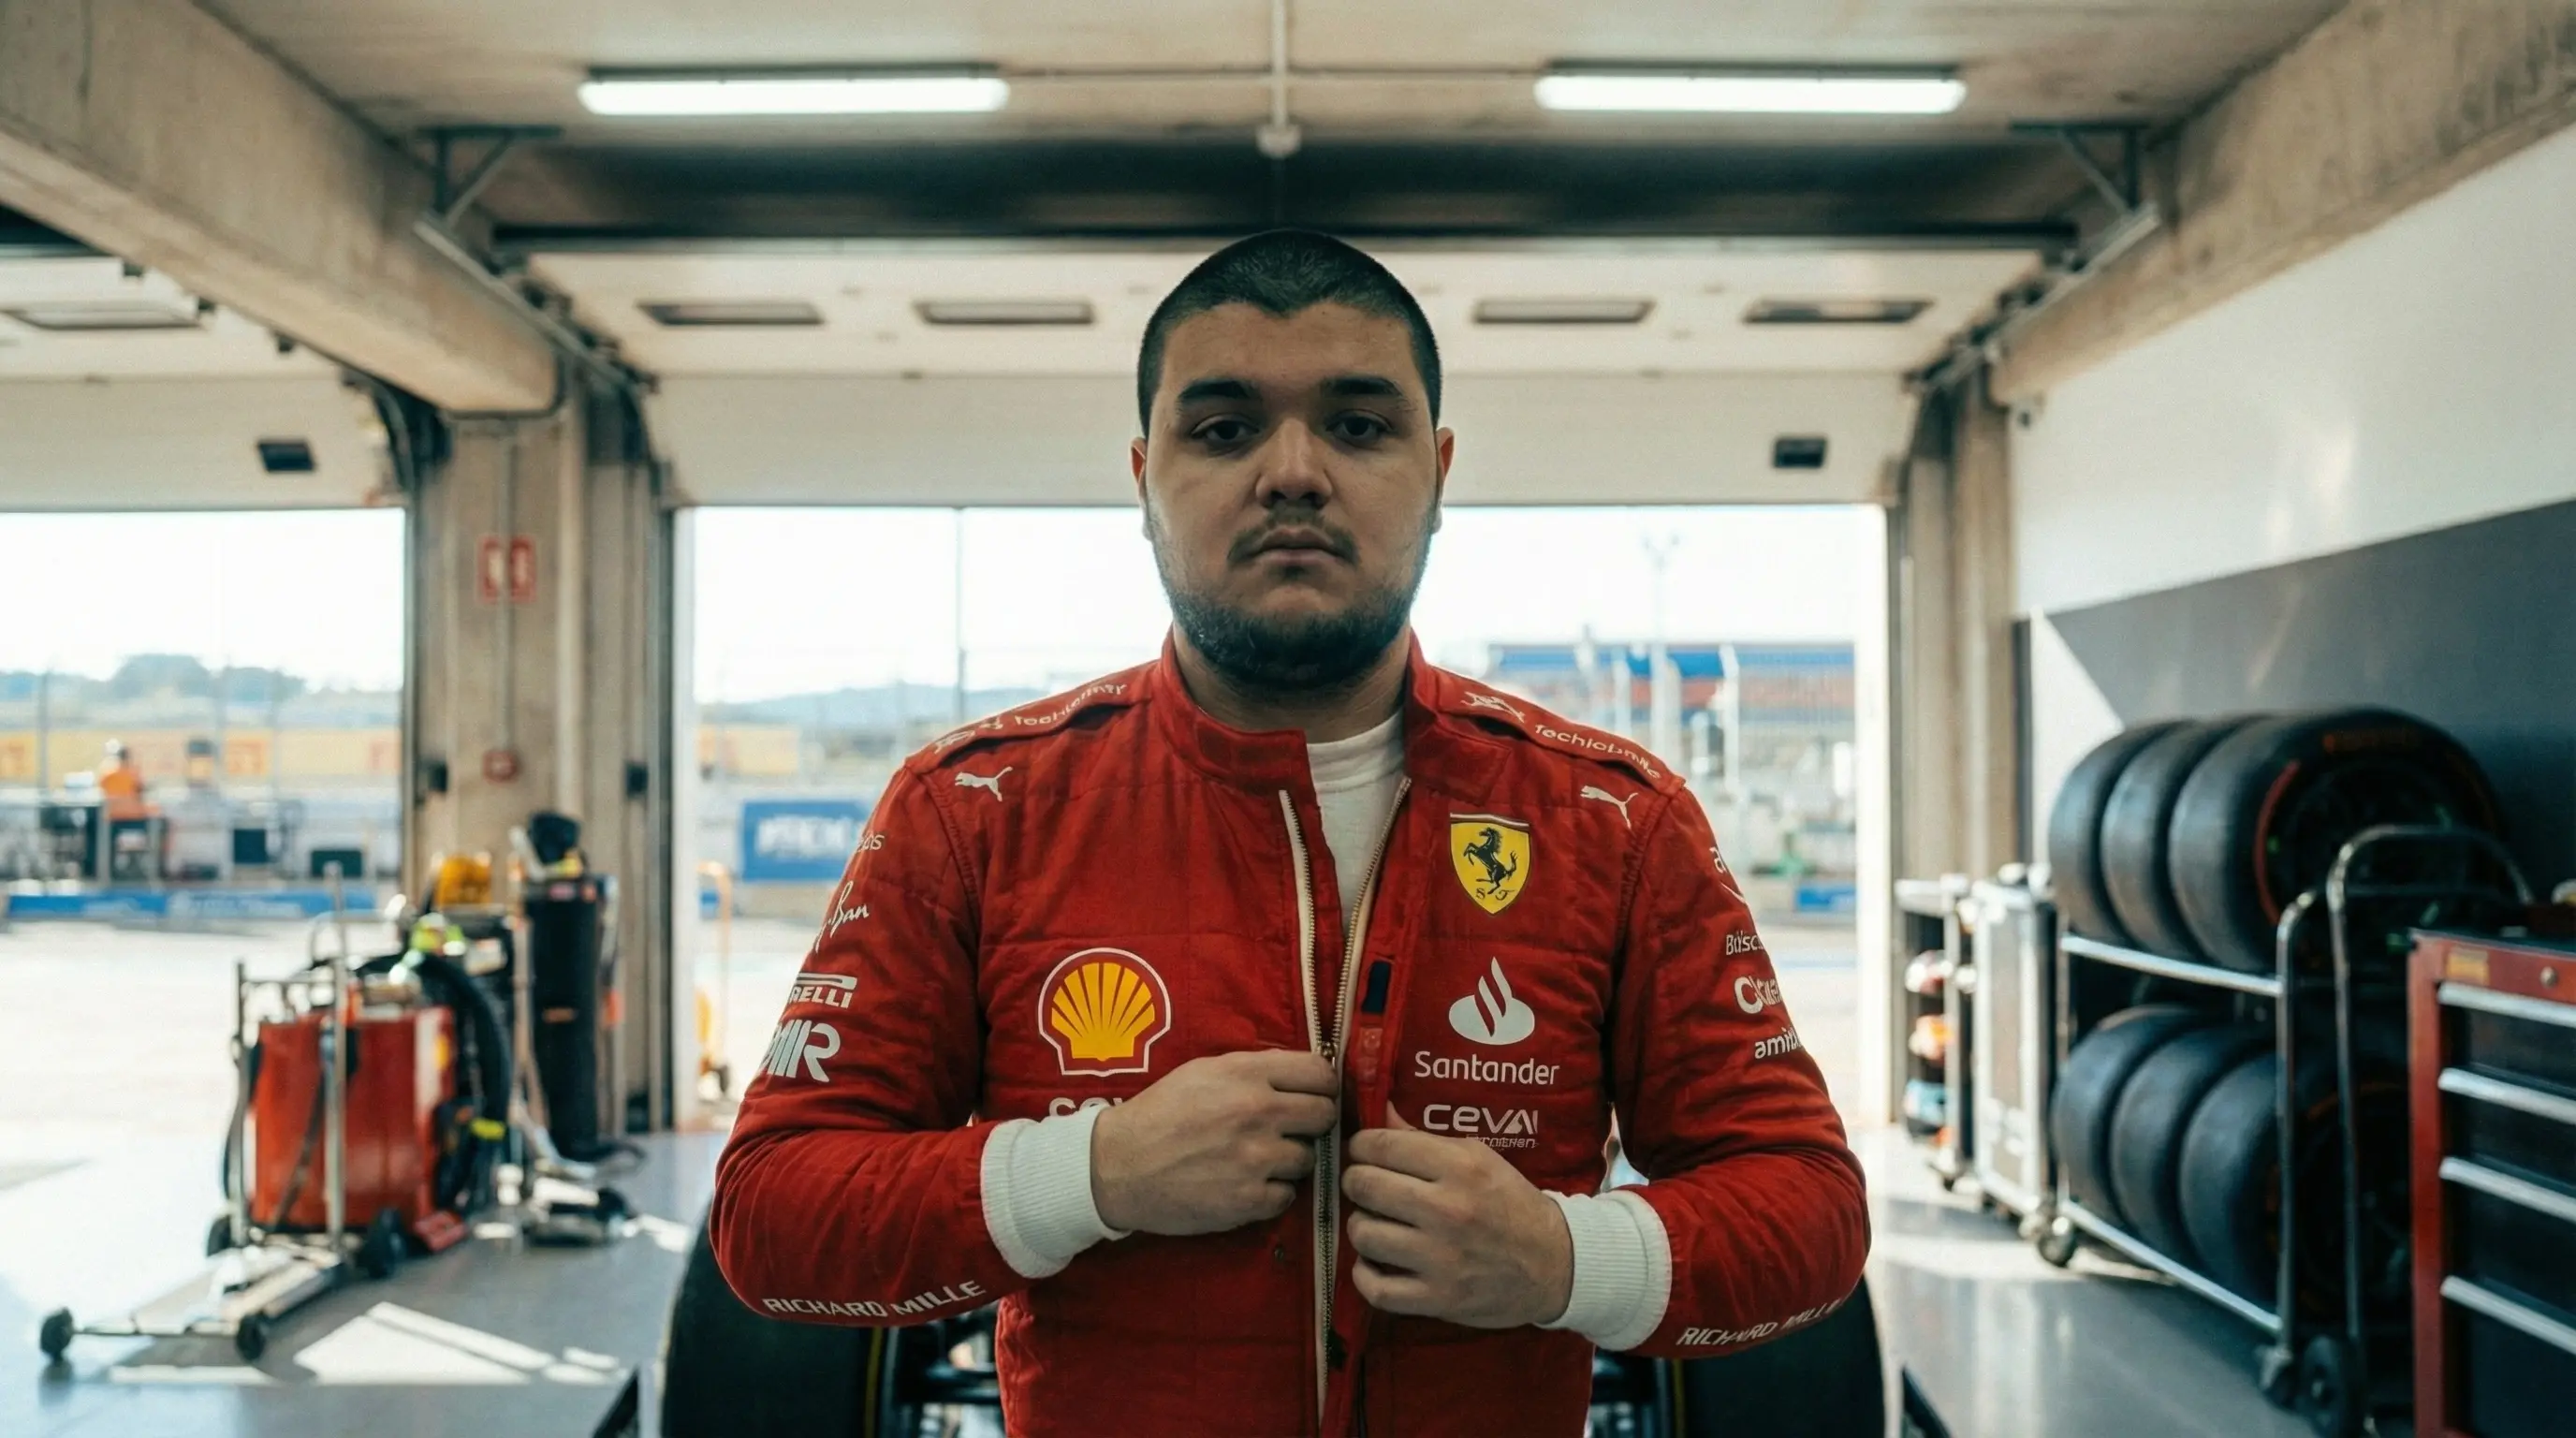
Shot 1 (4s):
Fade in from black. Extreme slow motion, tight medium close-up of the
driver in @Element1 pulling the zipper up from chest to collar. Shallow
depth of field, warm amber garage light. The zipper teeth catch the light
as they close. 35mm film grain.
Shot 2 (3s):
Hard cut. Slow motion, medium shot. The driver in @Element1 lifts @Element2
off a shelf and lowers it over his head. Rack focus from helmet to face.
Cool overhead strip lighting reflects off the visor. Muted tones, shallow
depth of field.
Shot 3 (4s):
Cut. Symmetrical wide shot from behind @Element3 in the garage. The driver
in @Element1 wearing @Element2 climbs over the cockpit rim and drops into
the seat. Static locked-off camera, deep focus, hard overhead shadows on
concrete.
Shot 4 (4s):
Jump cut. FPV drone chasing @Element3 from above and behind, sweeping a
wide 180-degree orbit around the car as it accelerates through a corner.
Golden-hour light, heat shimmer off asphalt, engine roar. Motion blur on
background, car sharp.
Result
A 15-second cinematic sequence with perfect character consistency, smooth transitions, and professional-grade motion.
💡 Pro Tips for Multi-Shot Success
Tip 1: Start with a Reference Frame
Generate a start frame using Nano Banana Pro (or another image generator) that shows your character in the opening pose. Upload this as your start frame in Kling. This anchors the character's appearance from the very first frame.
Tip 2: Keep Actions Simple and Sequential
Don't try to cram too much into one shot. Use clear, sequential actions:
- ❌ "The driver zips up the suit, puts on the helmet, and climbs into the car"
- ✅ "The driver pulls the zipper up from chest to collar"
Let each shot do one thing well.
Tip 3: Use Slow Motion for Detail Shots
The first few shots of your sequence should be slow motion (explicitly state "extreme slow motion" or "slow motion" in the prompt). This gives viewers time to absorb details and creates a cinematic feel.
Tip 4: Reference Elements Explicitly
Always mention your @Elements in the prompt so Kling knows which objects to lock:
The driver in @Element1 lifts @Element2 off the shelf and lowers it
over his head.
Tip 5: Describe Transitions
Use transition language to guide the model:
- "Fade in from black"
- "Hard cut"
- "Jump cut"
- "Dissolve to"
This helps Kling understand how shots connect.
Tip 6: Adjust CFG Scale Based on Complexity
- 0.5 (default): Balanced, good for most use cases
- 0.65: Strict prompt adherence, good for action sequences with specific objects
- 0.8+: Very strict, but risks artifacts
For multi-shot with Elements, 0.65 is the sweet spot.
🎯 Why Kling 3.0 and o3 Change the Game
For Filmmakers
Pre-visualize entire scenes without expensive location shoots or actor availability. Test camera movements, pacing, and narrative flow before committing to production.
For Content Creators
Generate multi-shot TikToks, YouTube Shorts, and Instagram Reels with cinematic quality. No more single-clip limitations.
For Brands
Create product narratives, hero shots, and lifestyle sequences with consistent branding and character identity.
For Agencies
Reduce production timelines from weeks to hours. Iterate on concepts rapidly without reshooting.
🚀 Getting Started on Pixio
- Navigate to Kling 3.0 / o3 on Pixio
- Upload your Elements (up to 4 reference images)
- Write your multi-shot prompts using the structure above
- Set per-shot durations (3-15 seconds each, max 15 total)
- Configure parameters (aspect ratio, resolution, CFG scale)
- Generate and download your video
The model will handle the rest—transitions, motion, consistency, and audio.
📚 Key Features at a Glance
Multi-Shot Generation
- Up to 6 shots per generation
- 3-15 seconds total duration
- Per-shot duration control
- Automatic transitions
Elements 3.0
- Up to 4 reference images
- Character consistency across shots
- Object and environment locking
- Stable identity through motion
Director-Level Control
- Cinematic camera language
- Physics-driven motion
- Depth of field control
- Lighting precision
Native Audio
- Synchronized audio generation
- Dialogue support
- Ambient sound
- Music integration
🎬 The Future of AI Video
Kling 3.0 and o3 represent a maturation of AI video generation. We're moving past the era of "one-off clips" into the era of structured storytelling. With Elements 3.0, multi-shot generation, and native audio, you now have the tools to create narratives that rival traditional video production.
On Pixio, these tools are accessible to everyone. No film school required. No expensive equipment. Just clear direction and a solid prompt.
The most powerful AI video model is the one that listens to what you want to create. Kling 3.0 and o3 listen.
🎯 Try Now in Pixio
Ready to create your first multi-shot masterpiece?
Start generating cinematic multi-shot videos with full directorial control. Upload your elements, write your shots, and watch your vision come to life.